

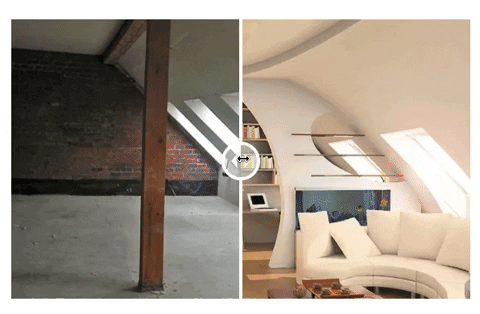
If you want to showcase the changes by comparing 2 images, the Before/ After gallery will be a perfect solution. This functionality suits best for dentistry, beauty industry, construction, and interior design companies, etc. The site visitors can pull the handler to the left or right to compare the images.
Here's an example of how you can use the Before/ After gallery:
To add and set up the Before/ After gallery, follow the instructions below.
Adding a Before/ After gallery
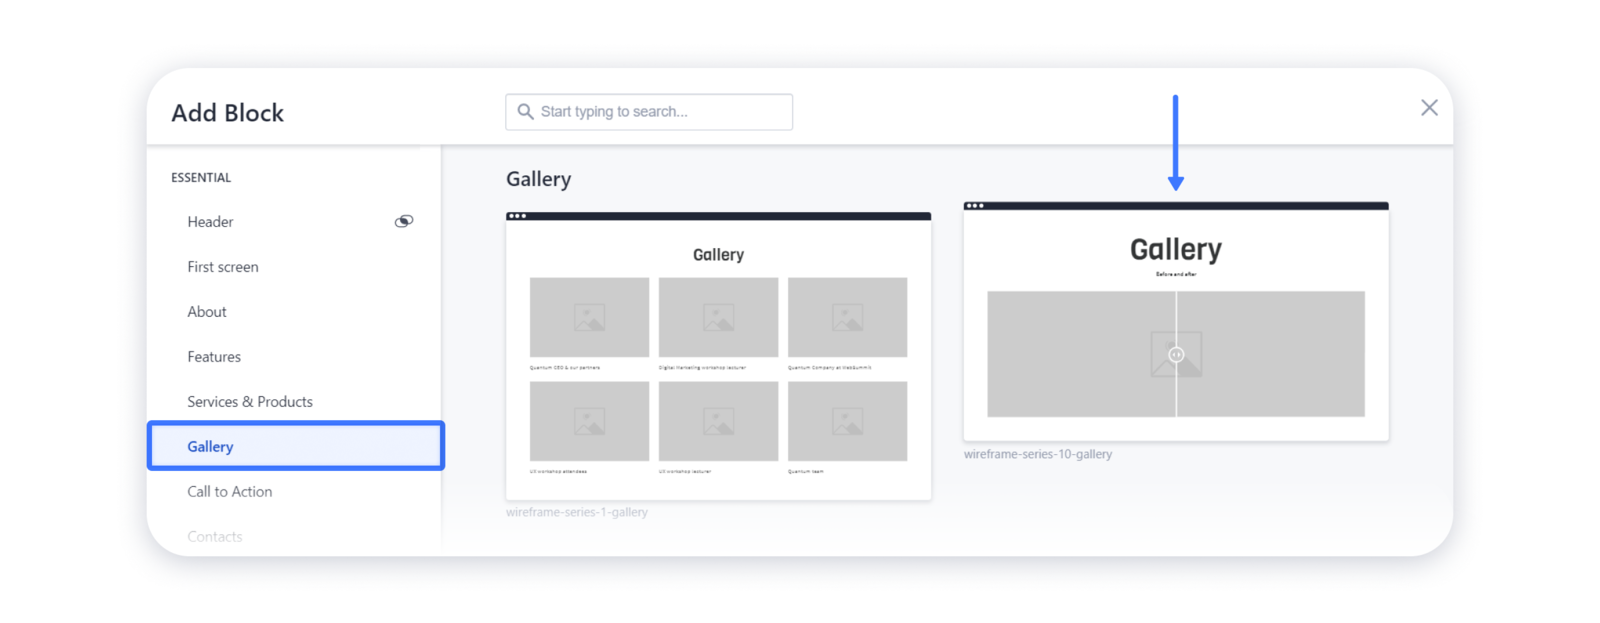
1- Open the blocks gallery in the editor, access the Gallery tab, and choose wireframe-series-10-gallery block:
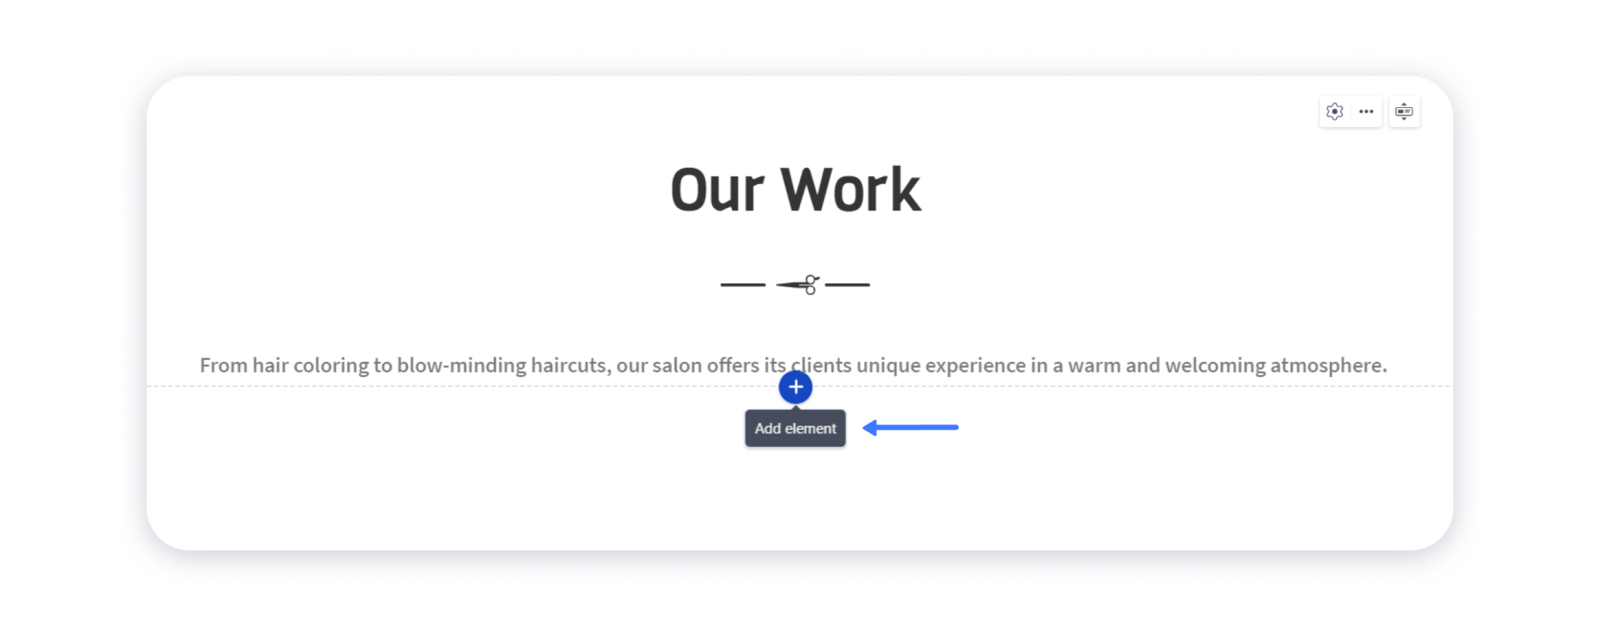
2- You can also add the Before/ After gallery as a separate element to existing blocks. For that, hover over the place in the block where you'd like to set a gallery and click on the "plus":
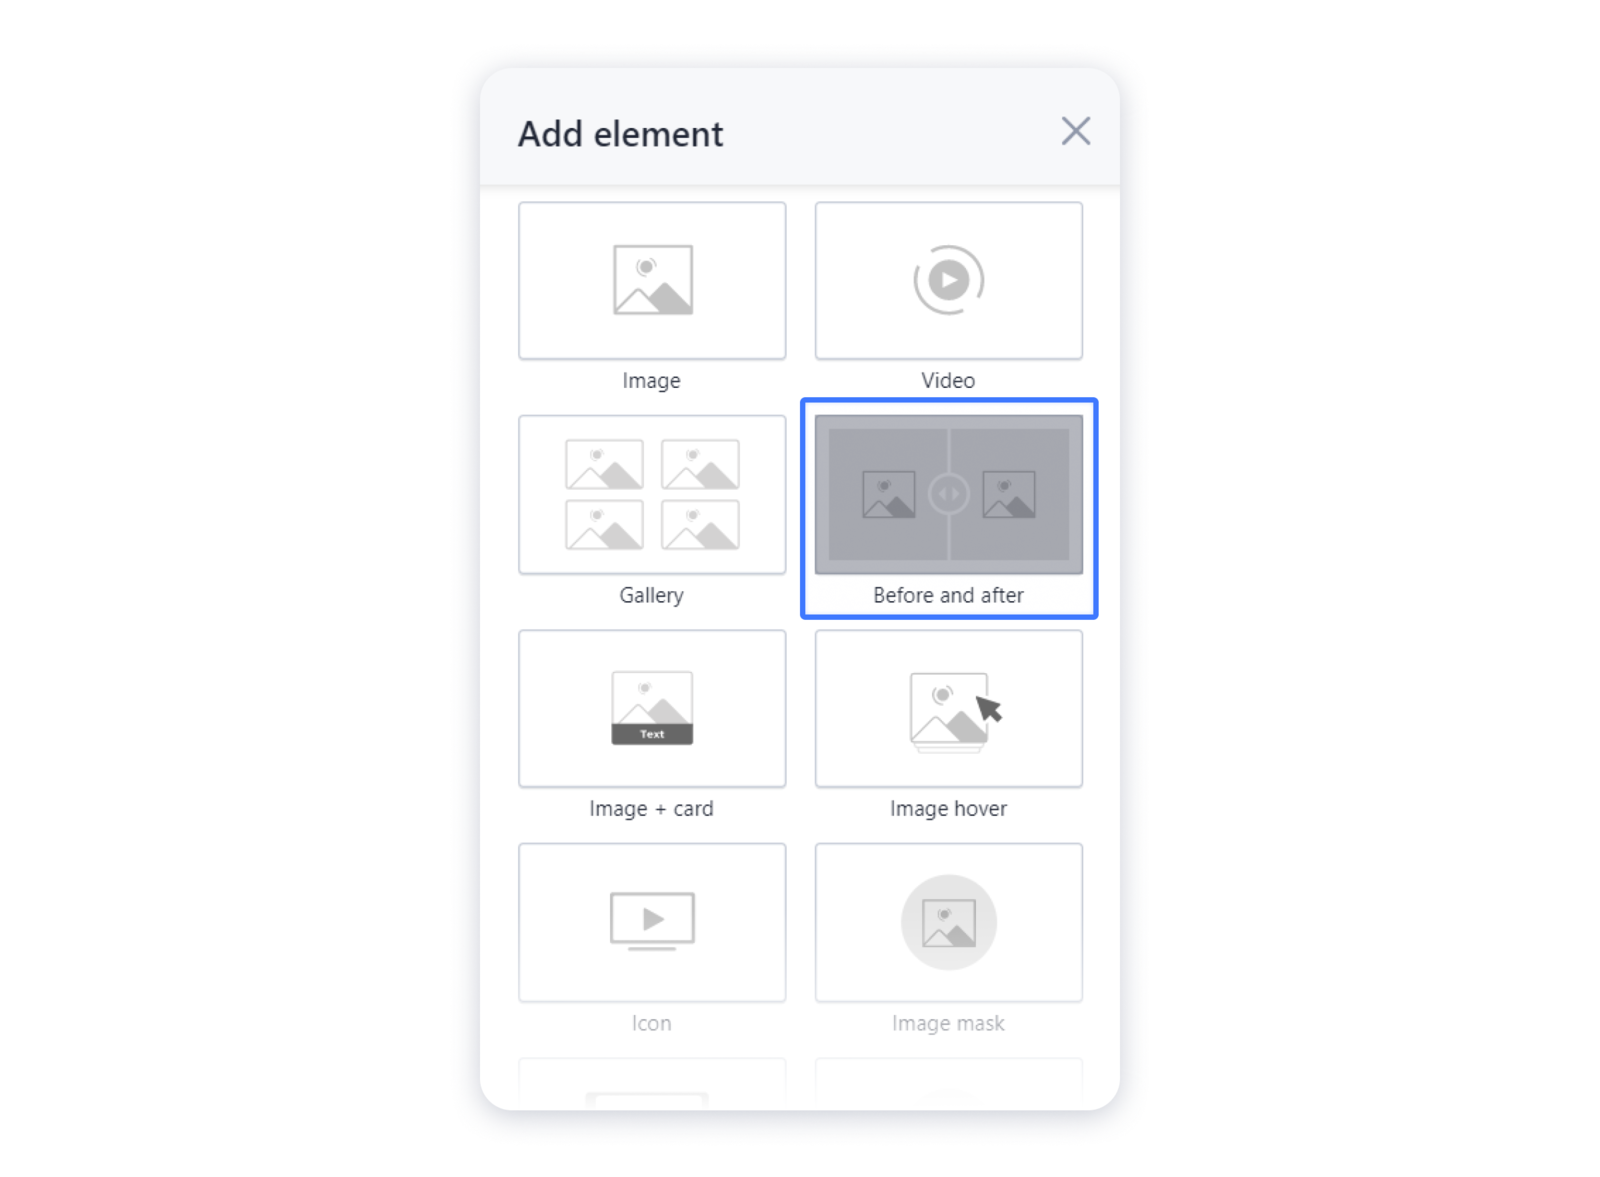
3- Choose the Before/ After gallery element in the pop-up menu:
Adding images to the Before/ After gallery
1- For that, click on the image component and press the Upload button in the opened menu:
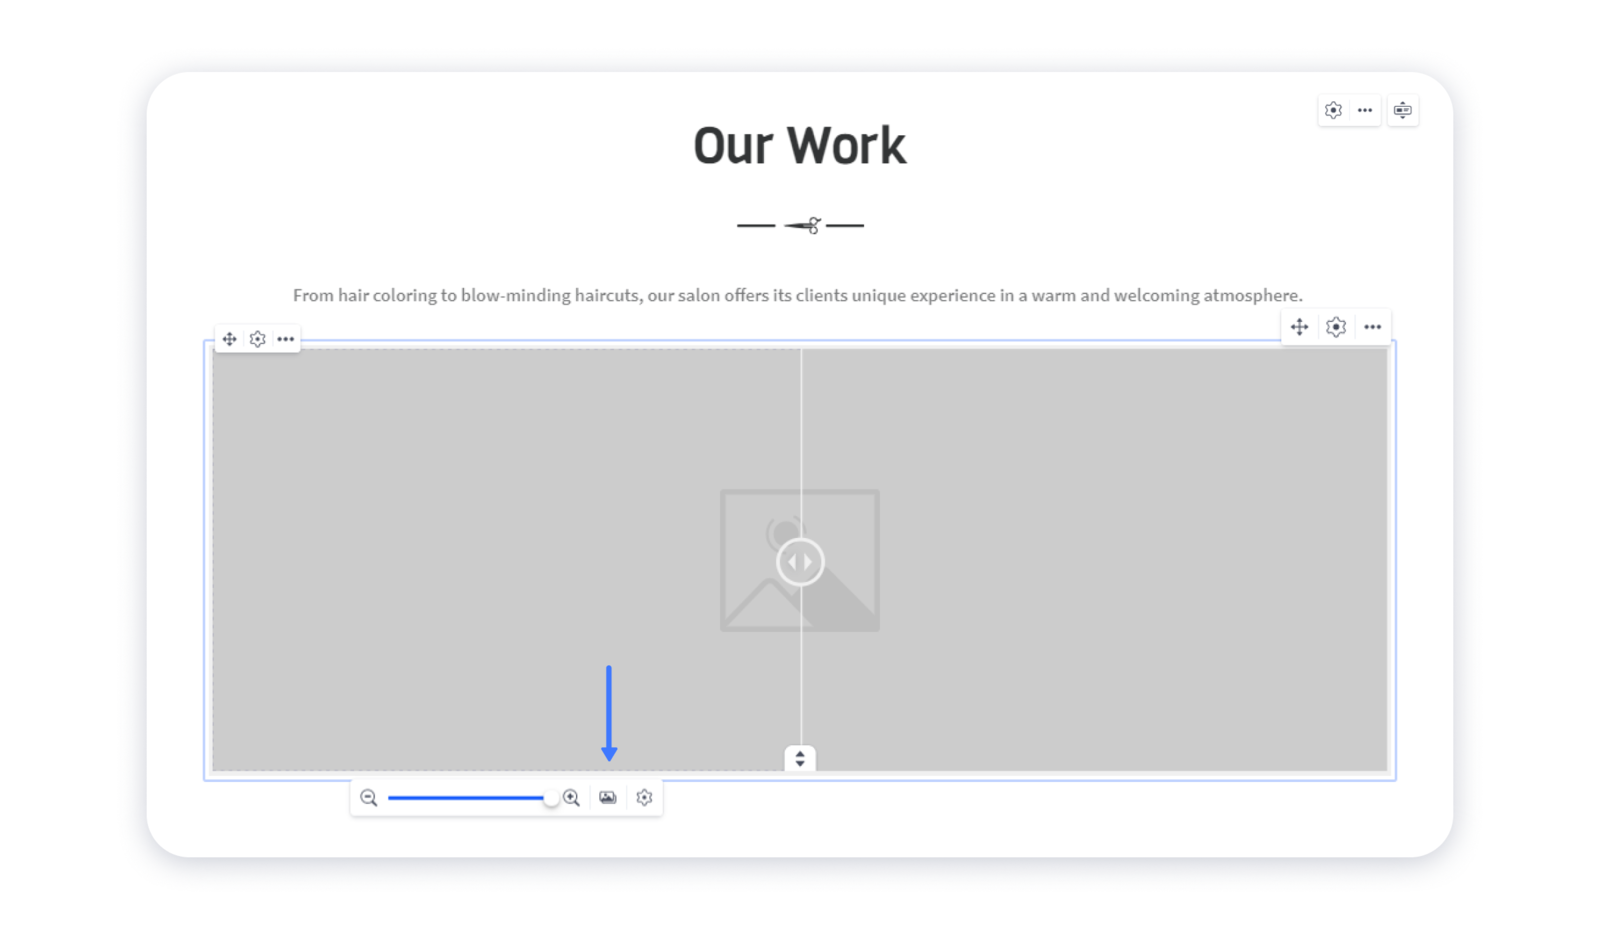
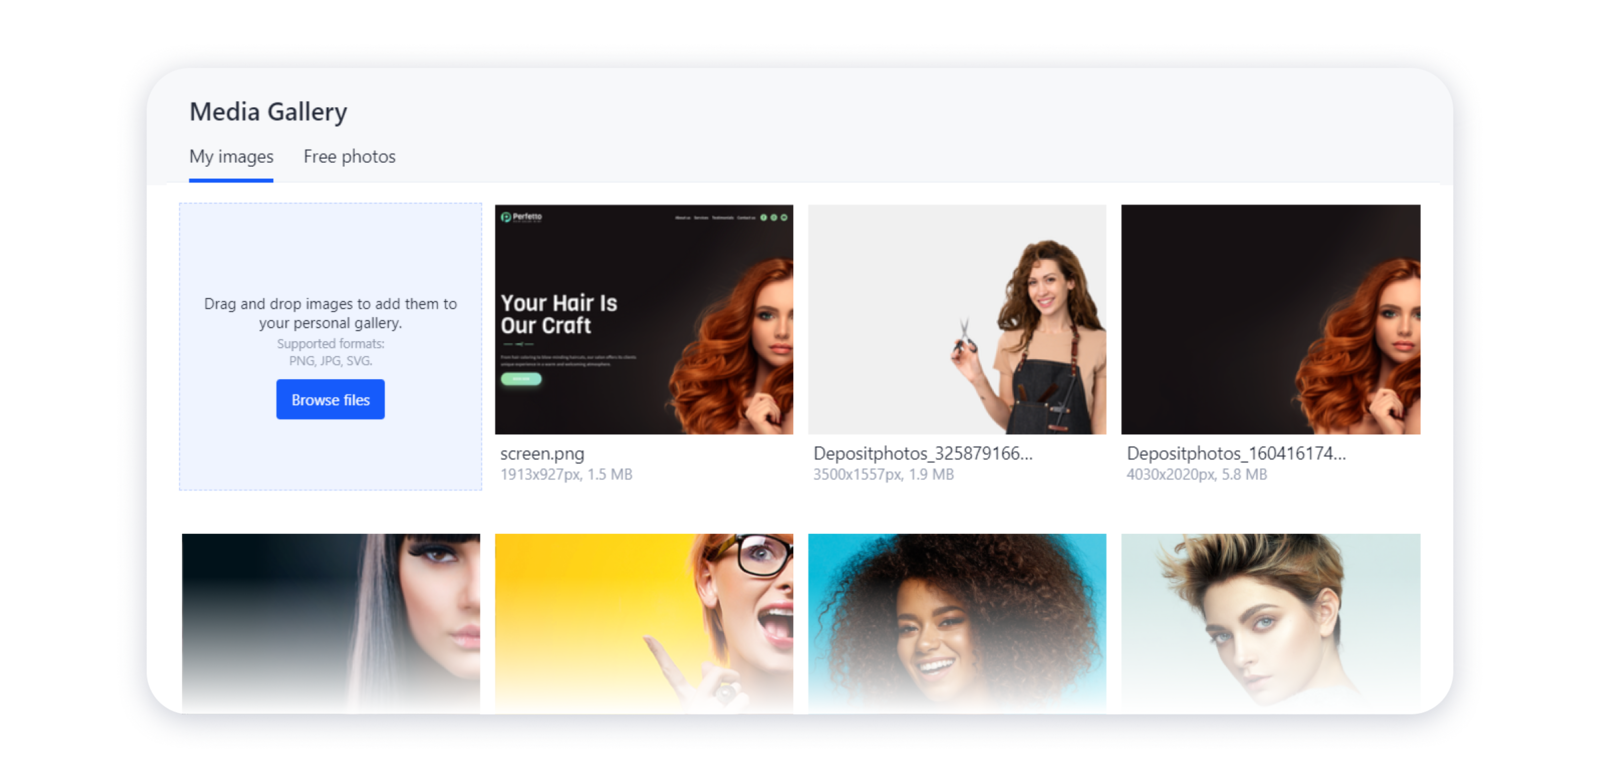
2- In the new window, you will see the Media gallery of your site. In the Free photos tab, you can browse through the stock images by using the keywords. If you want to upload your own images to the gallery, access the My images tab:
Tip: learn how you can change the position of your images or add filters in the article Editing images.
Before/ After gallery settings
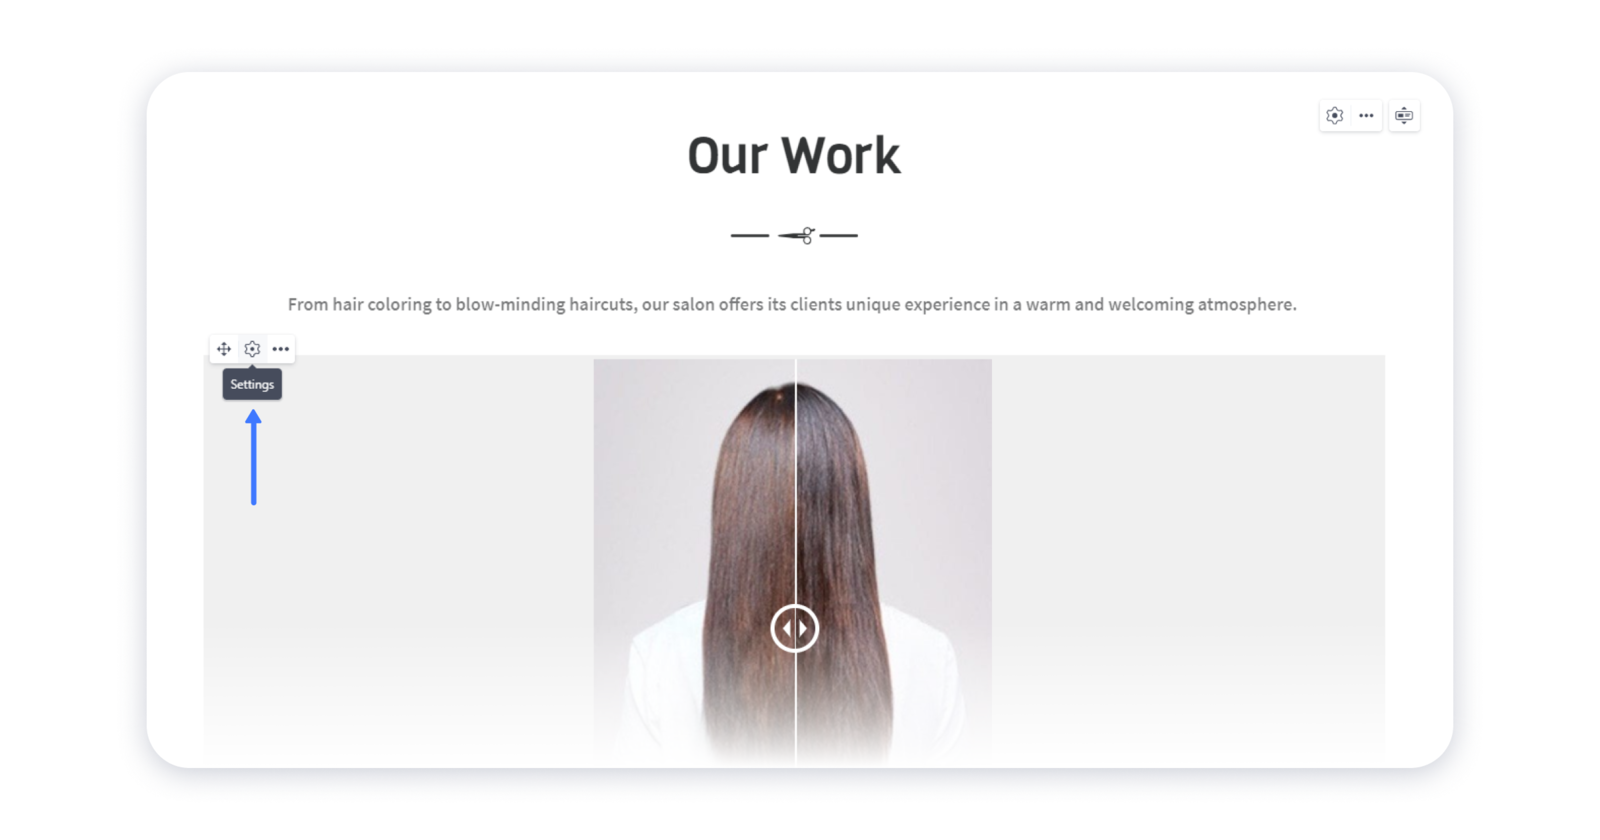
1- To access the settings of the gallery, hover over its placeholder and click on the "gear" at the top left corner:
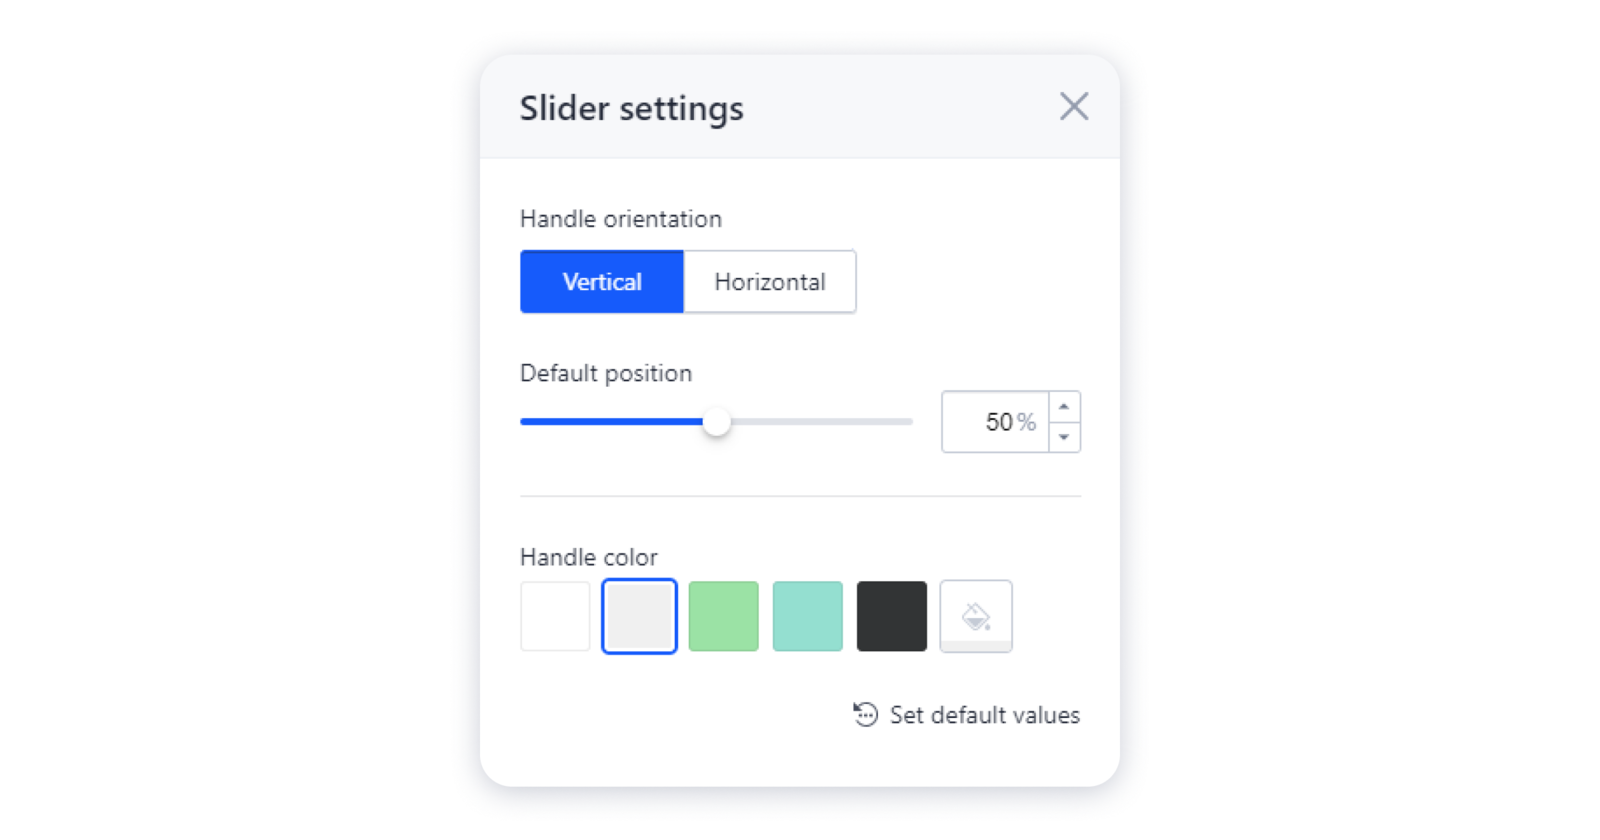
2- In the pop-up menu customize the position of the slider and the handles color:
3- Don't forget to publish your site for changes to take an effect.
Done! The site visitors can pull the handler to the left or right to compare the images.