After you've added a contact form on your site, make sure you change the layout so your customers submit only the relevant info. Add and remove the fields in the form, make some of them mandatory — that is up to you.
Customizing the layout of a contact form
1- Hover over the contact form and click on the "gear" to access its settings: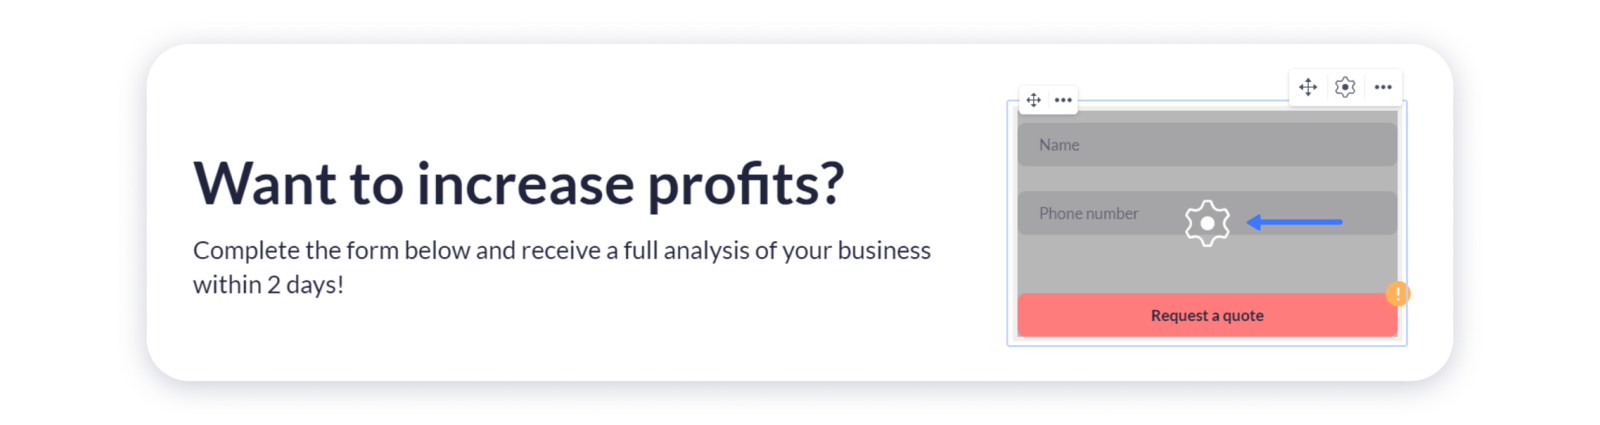
2- In the Layout tab press Add field and select the fields you'd like to show in the form — email, date, check box, etc: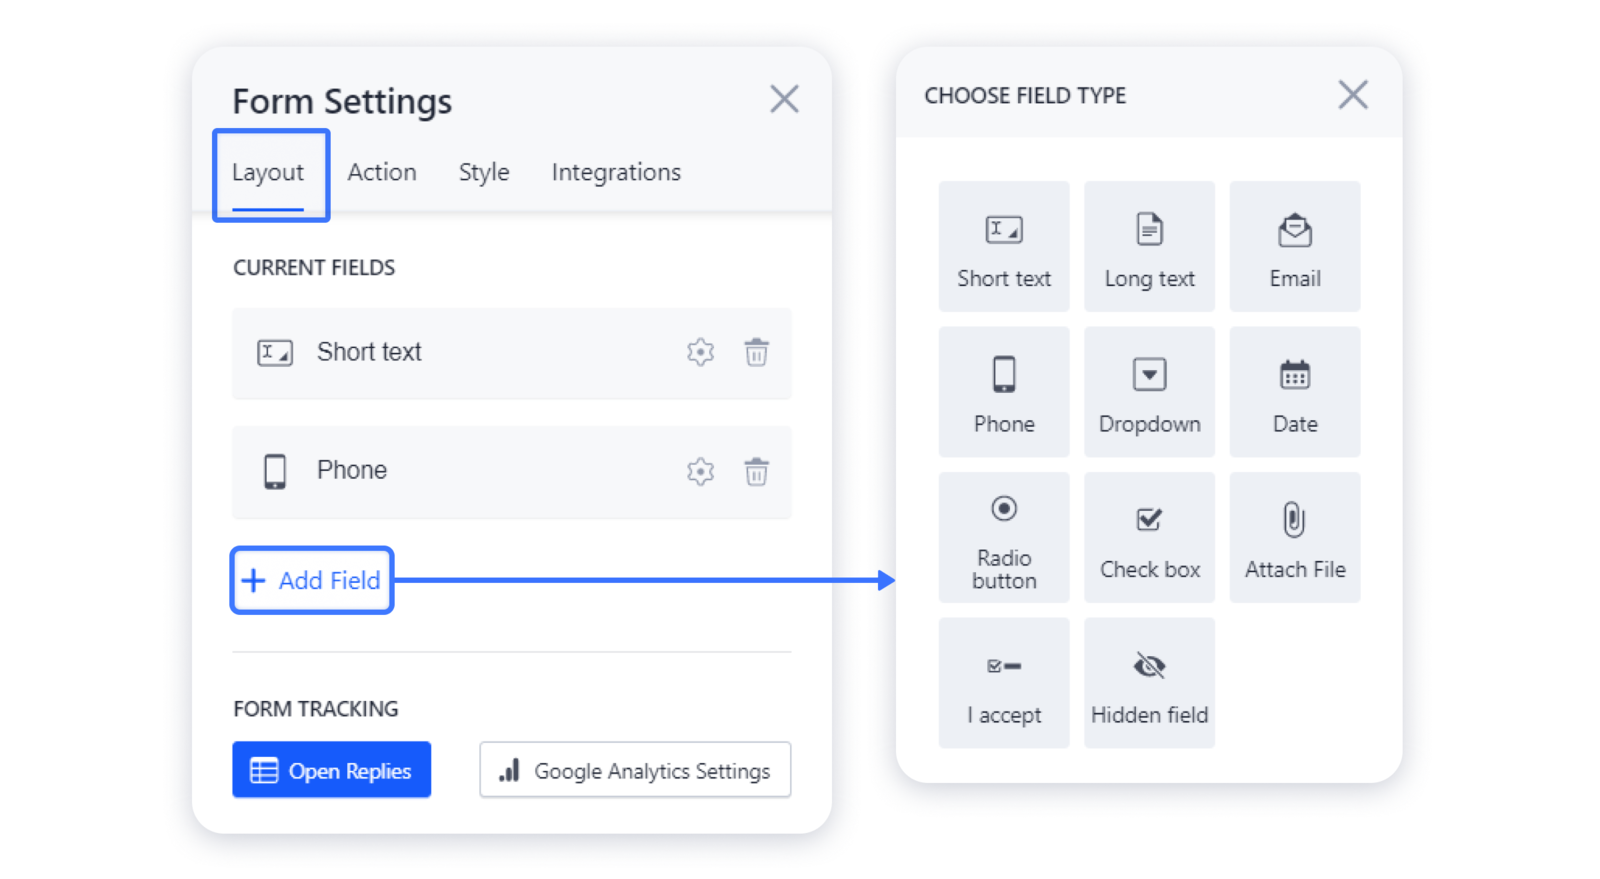
3- To access the settings of the field, click on the "gear" next to it: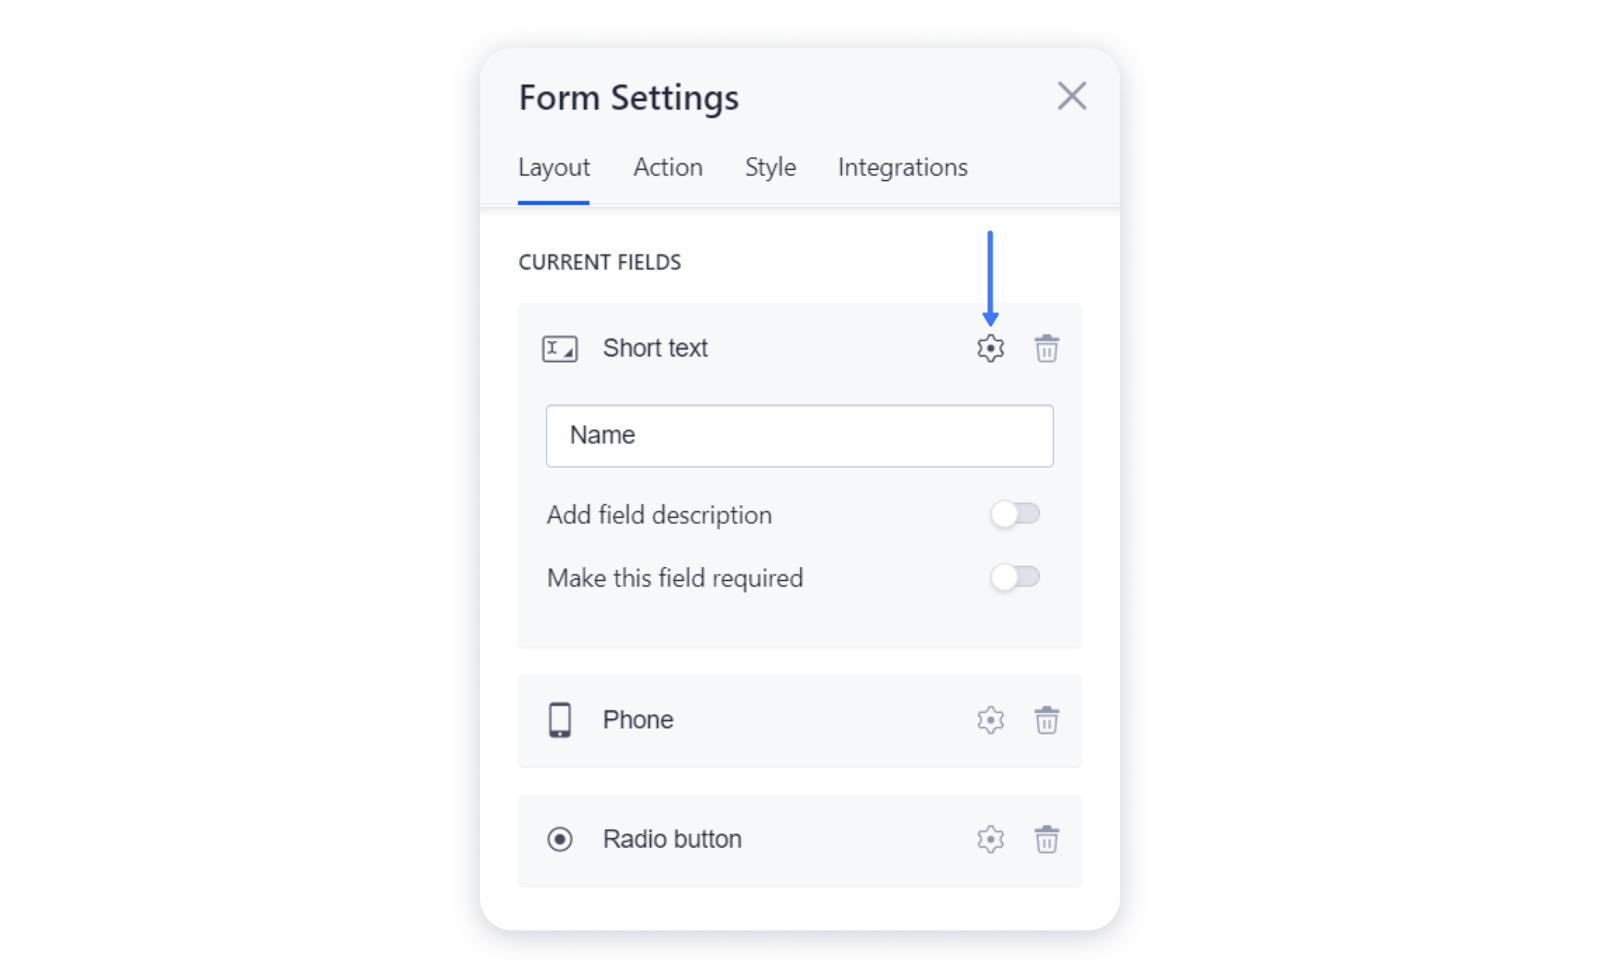 4- To change the name that will be displayed above the field itself, change the text in the very first line of the settings:
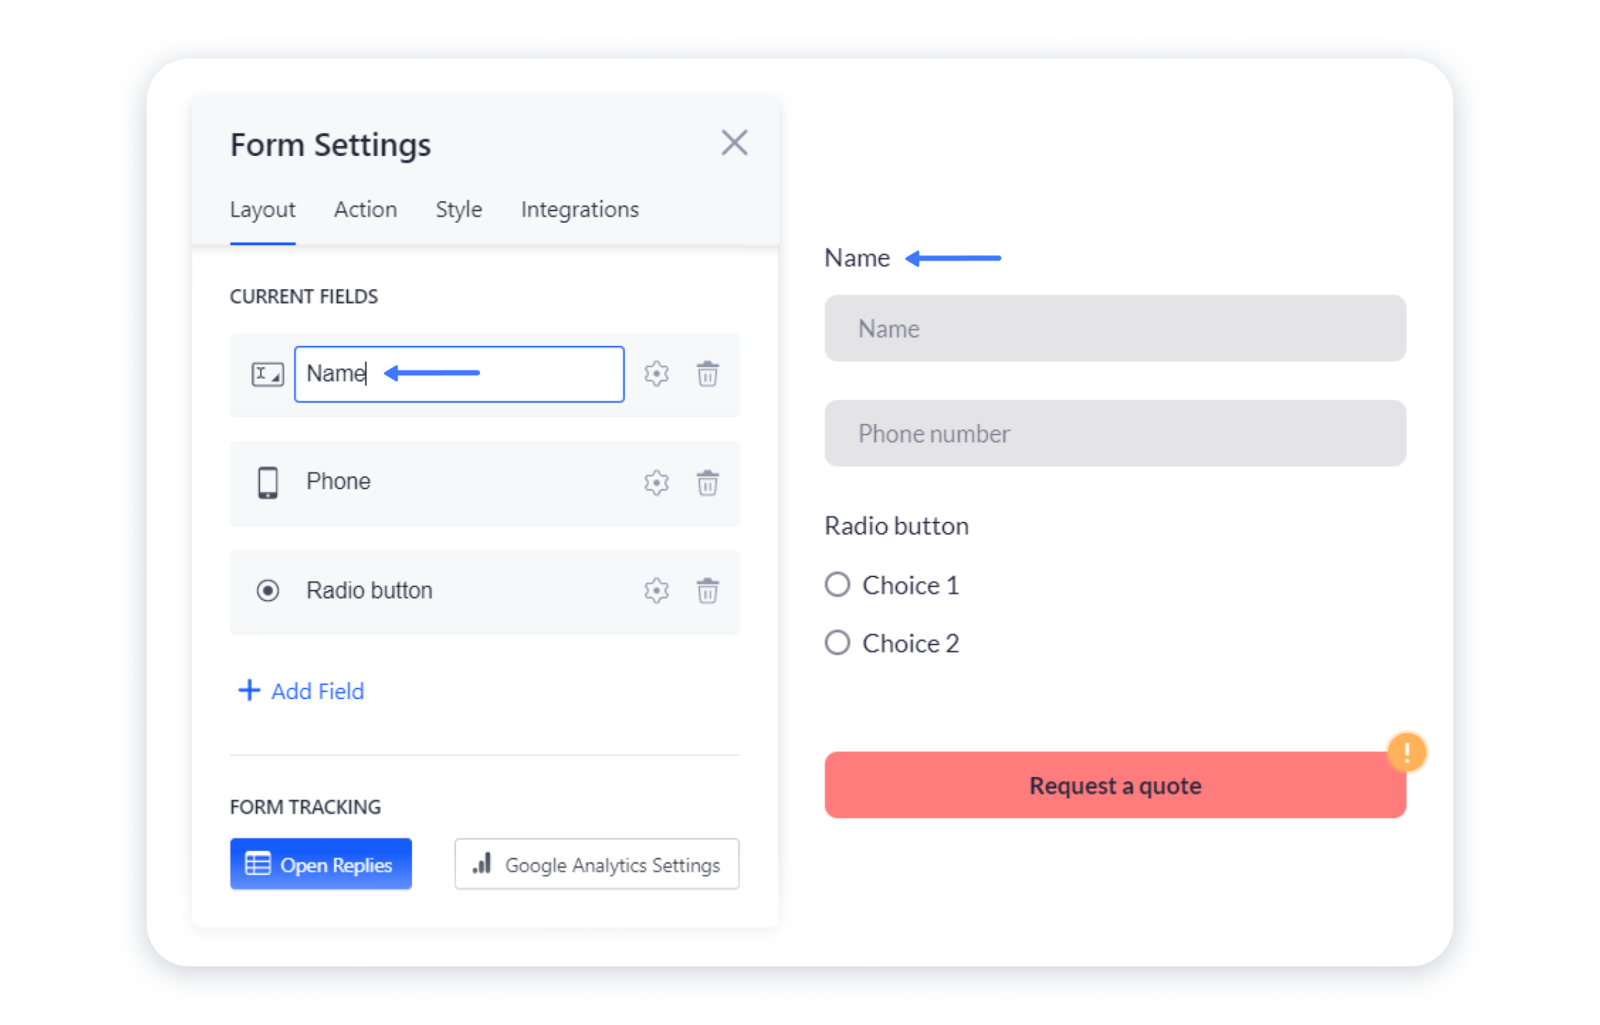
5- In the fields with placeholders, you can add text that will be displayed in these placeholders and disappear when the user starts to type something: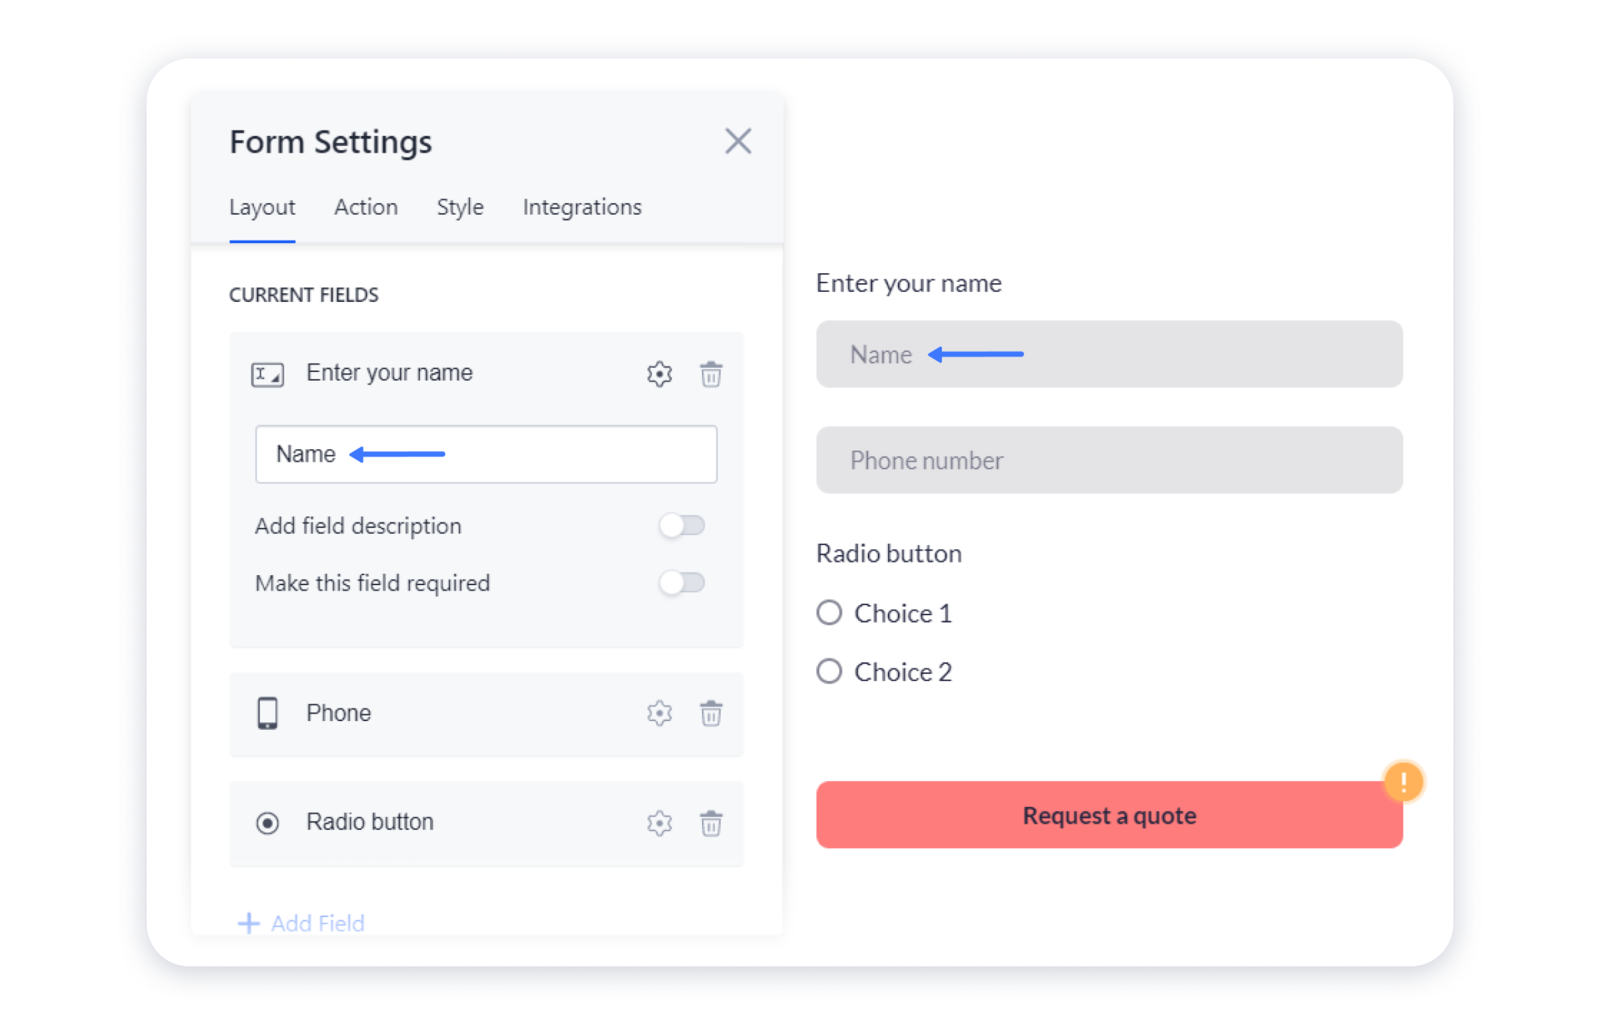
6- In order to add a detailed description to the field, enable the Add field description option in the settings, and enter the desired description in the line below: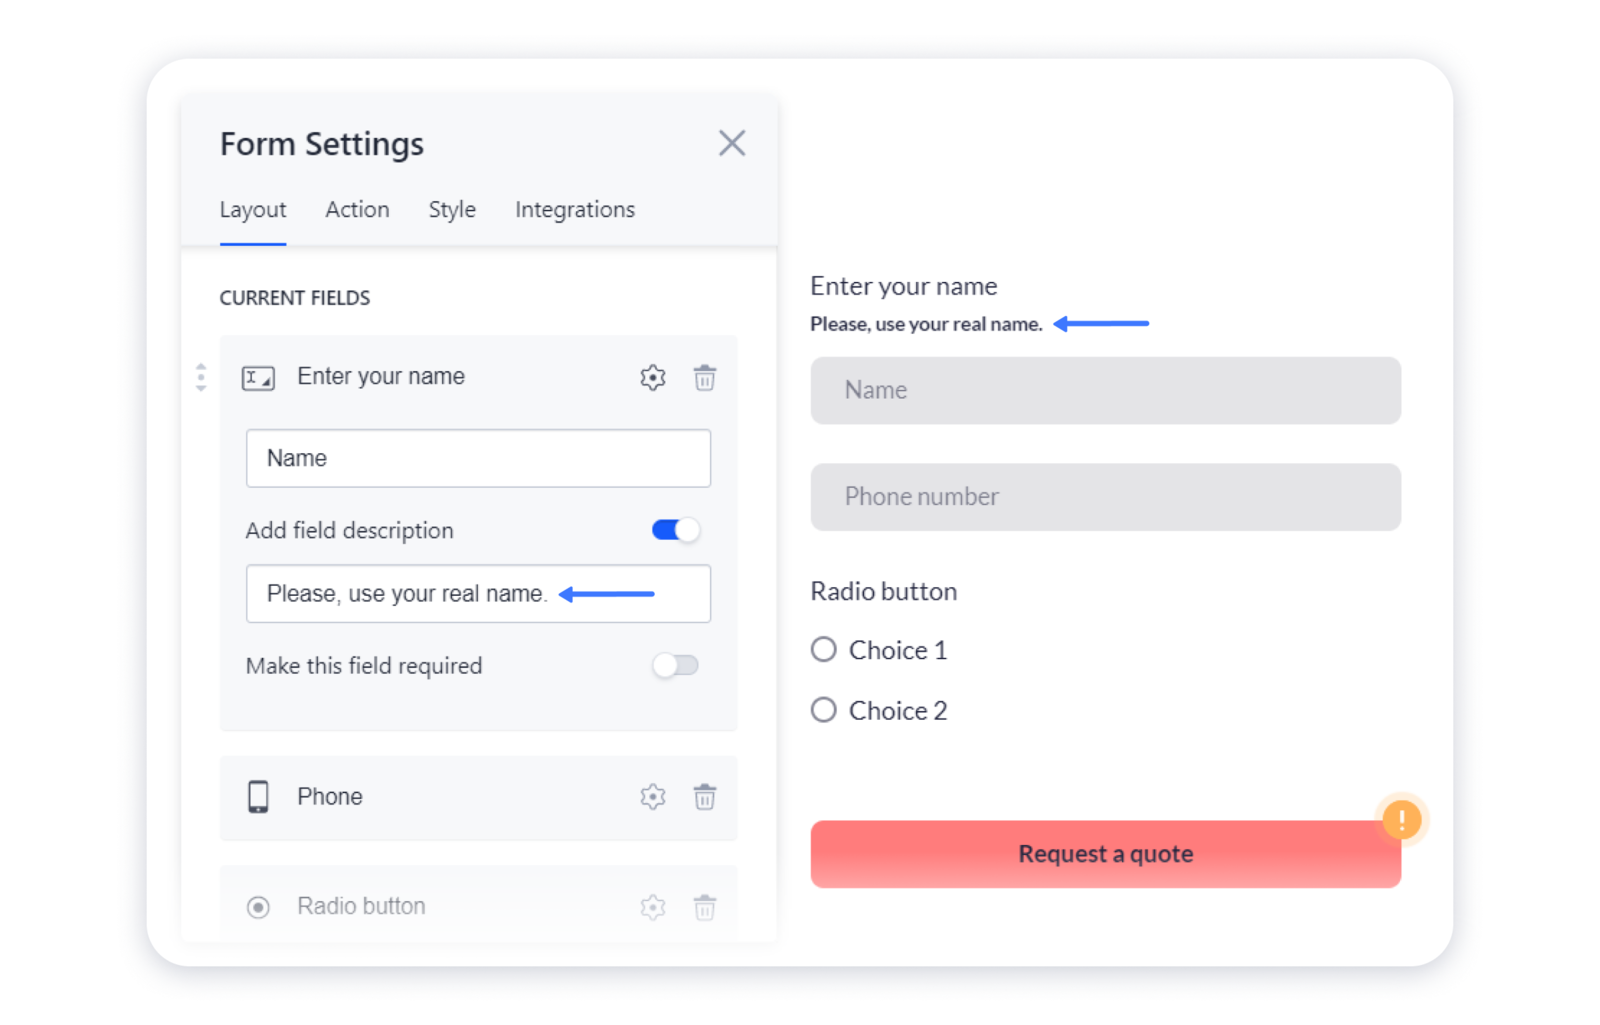 7- To make the field required, enable the Make this field required option. After that, an asterisk should appear near the field's name:
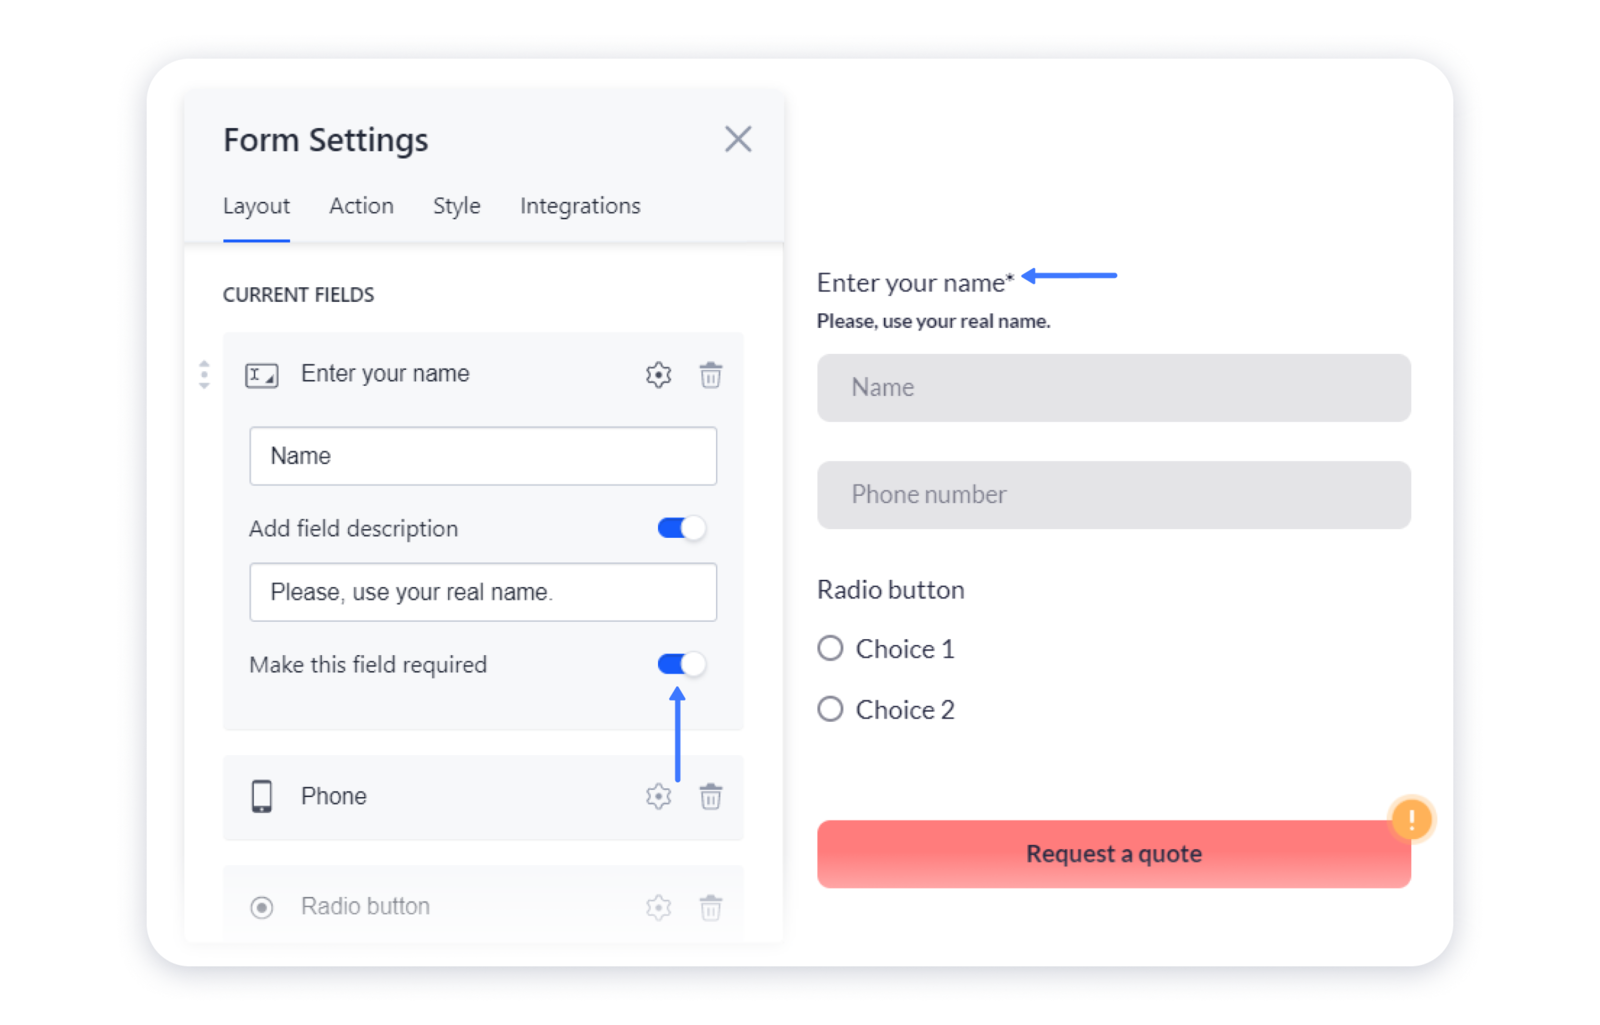
8- To remove a field from the form, click on the trash can icon next to it: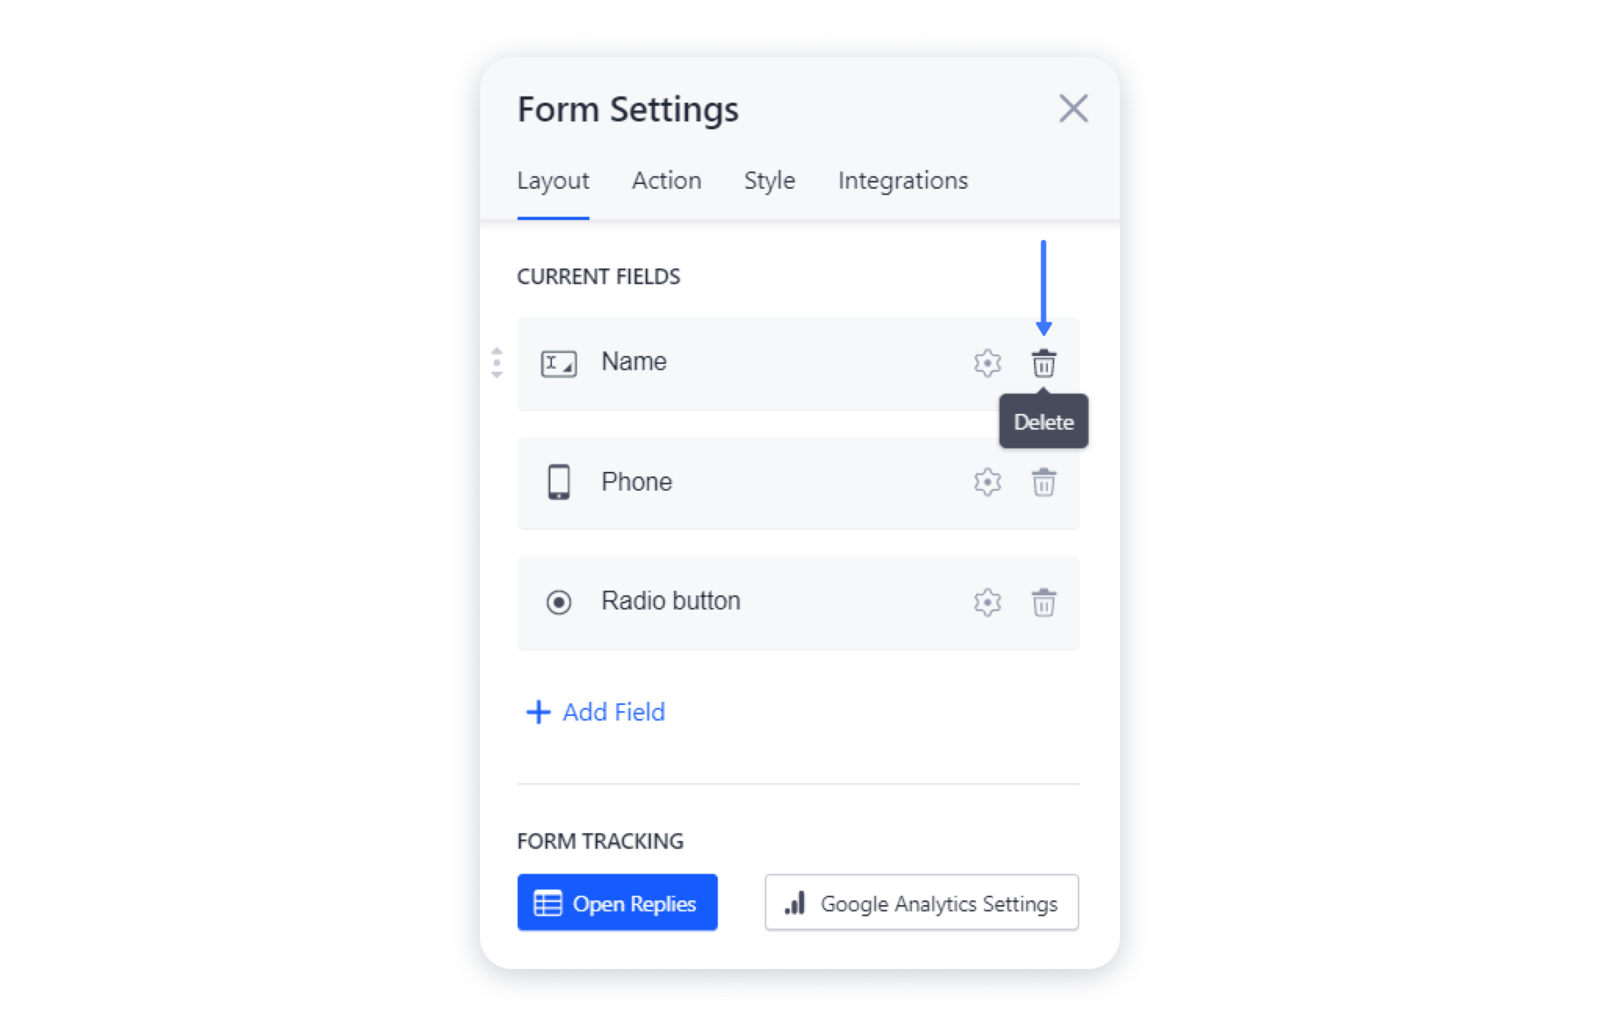
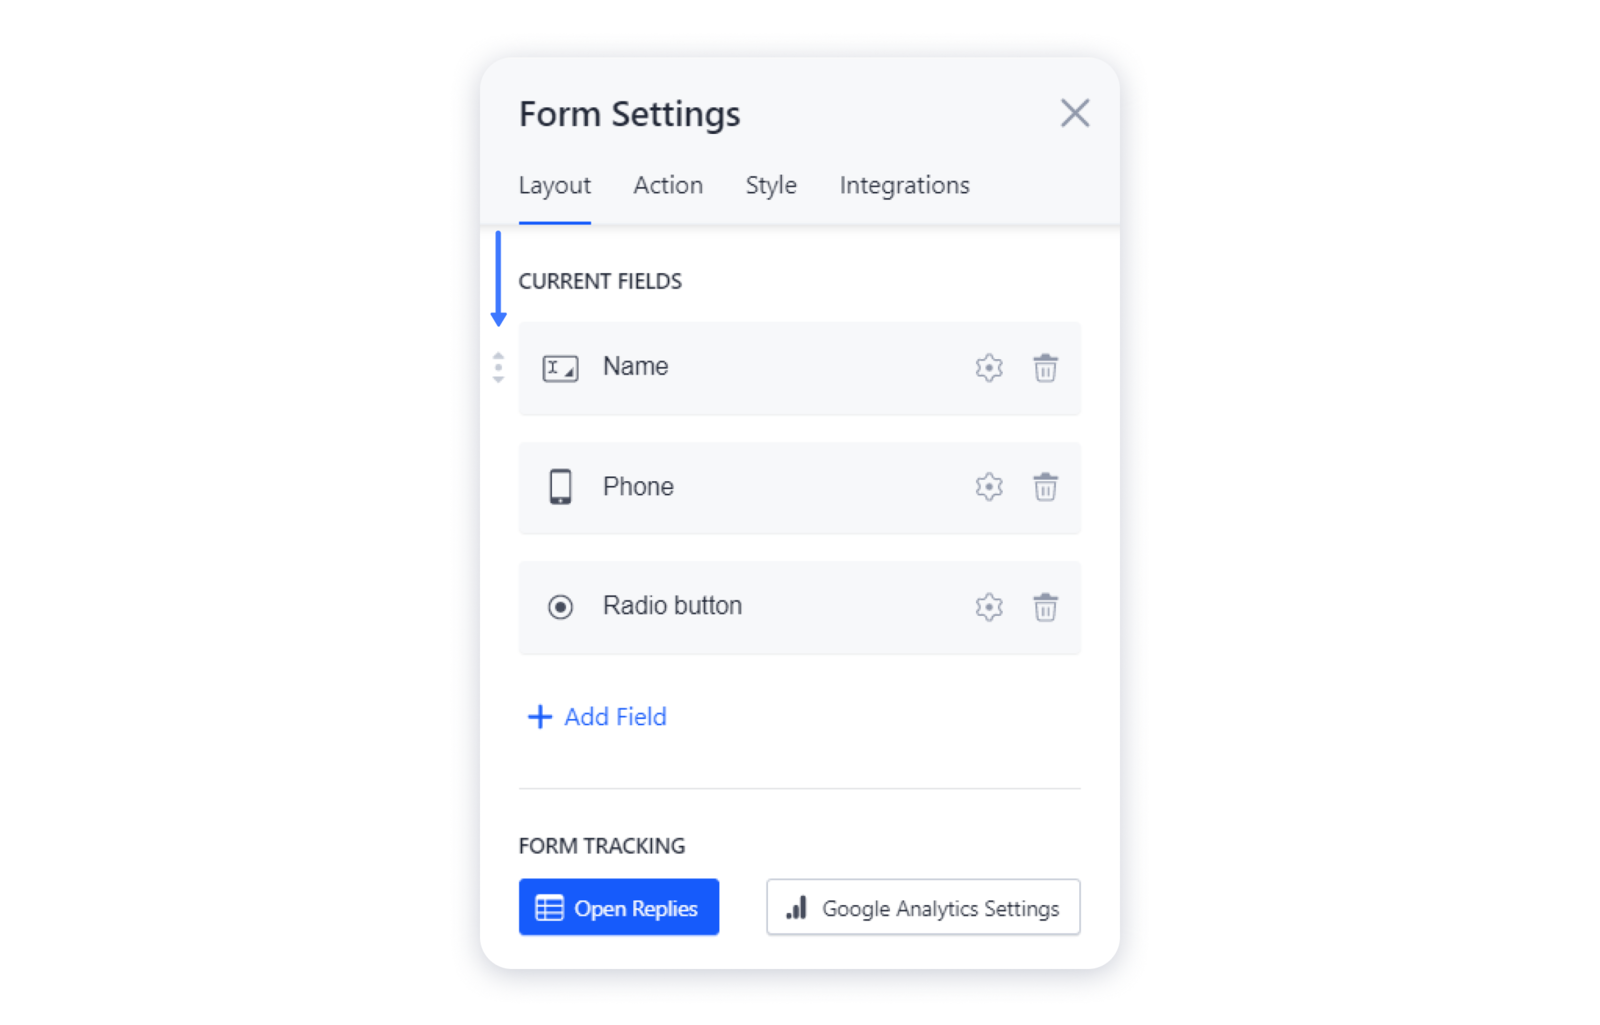
9- You can also change the order of your fields in the form. For that, pick the field up by the handlers and drop in the necessary position: