

In the editor, you can build your site with the help of the ready-made blocks, and enrich their look by adding additional elements. You can manage the settings of these elements separately.
However, some blocks can contain a set of entirely interdependent elements, that are gathered in the collection. Each item in the collection keeps the same layout as others — if you delete an element from one item in the collection, it will be automatically deleted from every item. This feature simplifies the editing process because you don't need to individually adjust each element — the overall shape and design remain identical.
In general, the collection allows you to synchronize several identical elements so that they look uniform. If you have a lot of similar information — for example, a product catalog, your team description, or testimonials — you can place it in a collection to quickly edit the elements and keep the design consistent.
Here's an example of how you can use the collection items: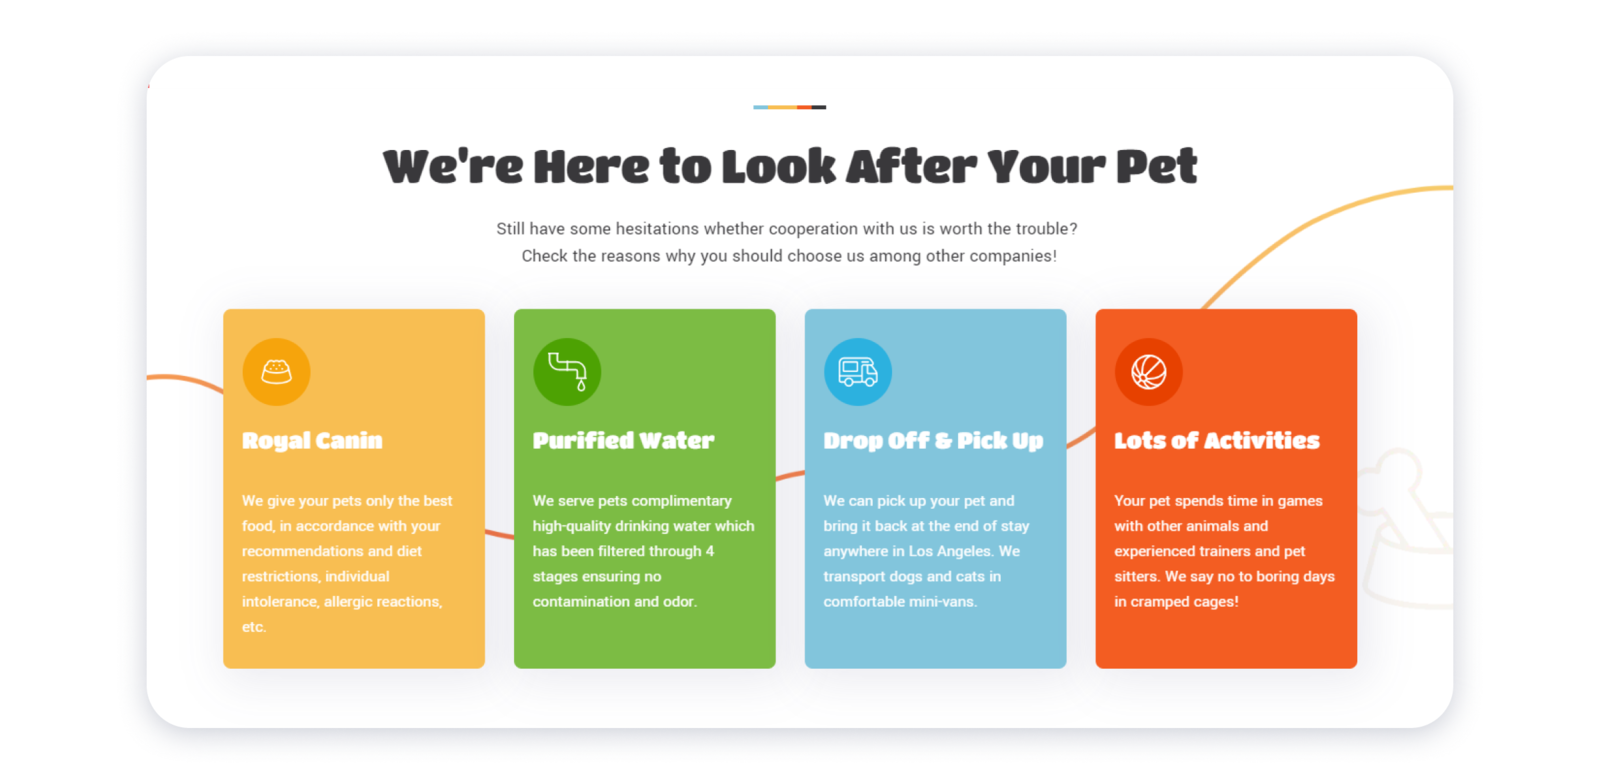
To add a collection on your site, choose it from our blocks gallery — you can find it in such blocks as wireframe-series-19-features, wireframe-series-6-services, wireframe-series-11-careers, etc. Follow the instructions below to learn how you can add and adjust the items in the collection.
Adding a new item in the collection
Most blocks in the gallery have 3-5 items in the collection by default. If you want to expand the added collection in the block, add a new item to it.
1- For that, hover over the existing item in the collection and click Item in the bottom right corner: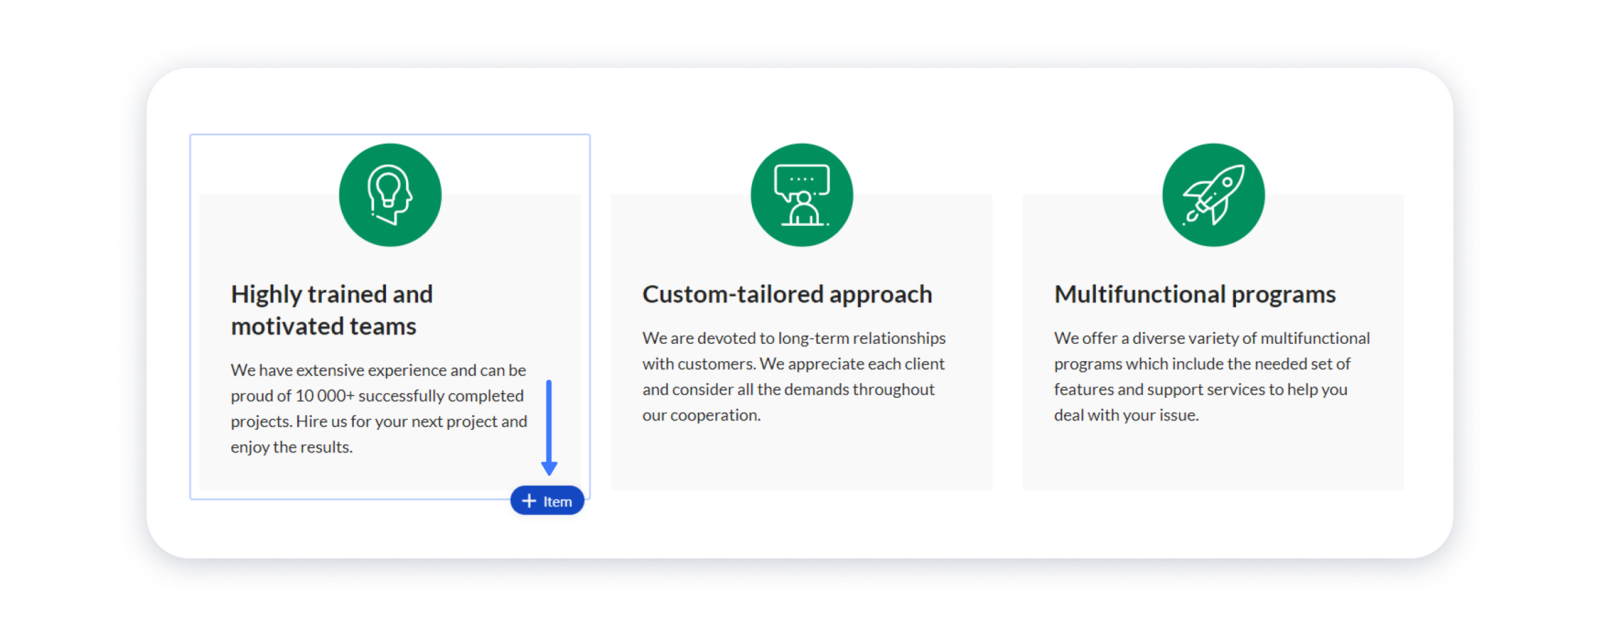 Note: the new item will be added with the same content next to the existing one.
2- You can duplicate or delete the items by clicking on the three dots in the top right corner: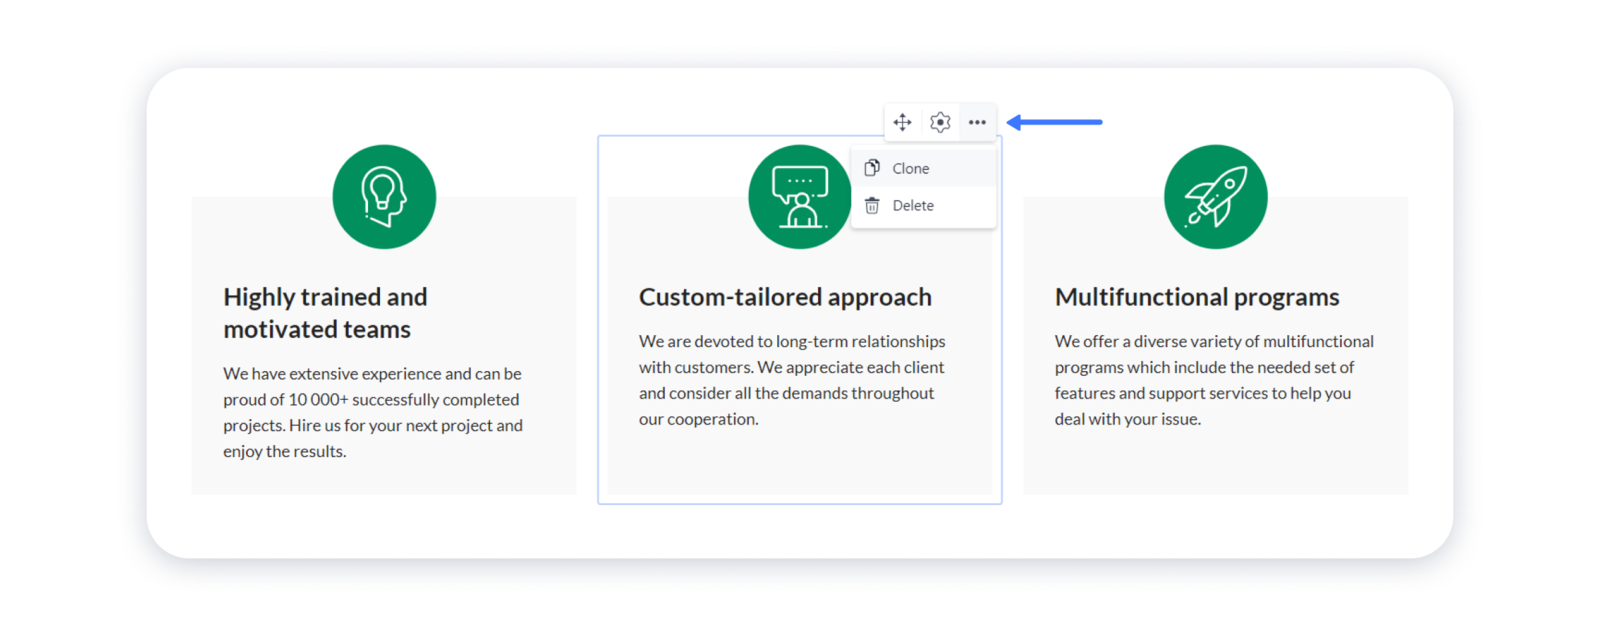 3- Drag the item to a desired position by clicking on the direction arrows icon in the top right corner of it:
Important: you can move items of the collection only within a particular block they are added to.
Changing the layout of the items
tidma provides a wide range of settings for each element so you can completely adjust your site's content to your needs. Thus, after adding a collection, you can change its appearance — stretch the items to the full width, change the alignment, and so on.
1- Firstly, hover over the collection item and click on the "gear" in the top right corner to access its settings: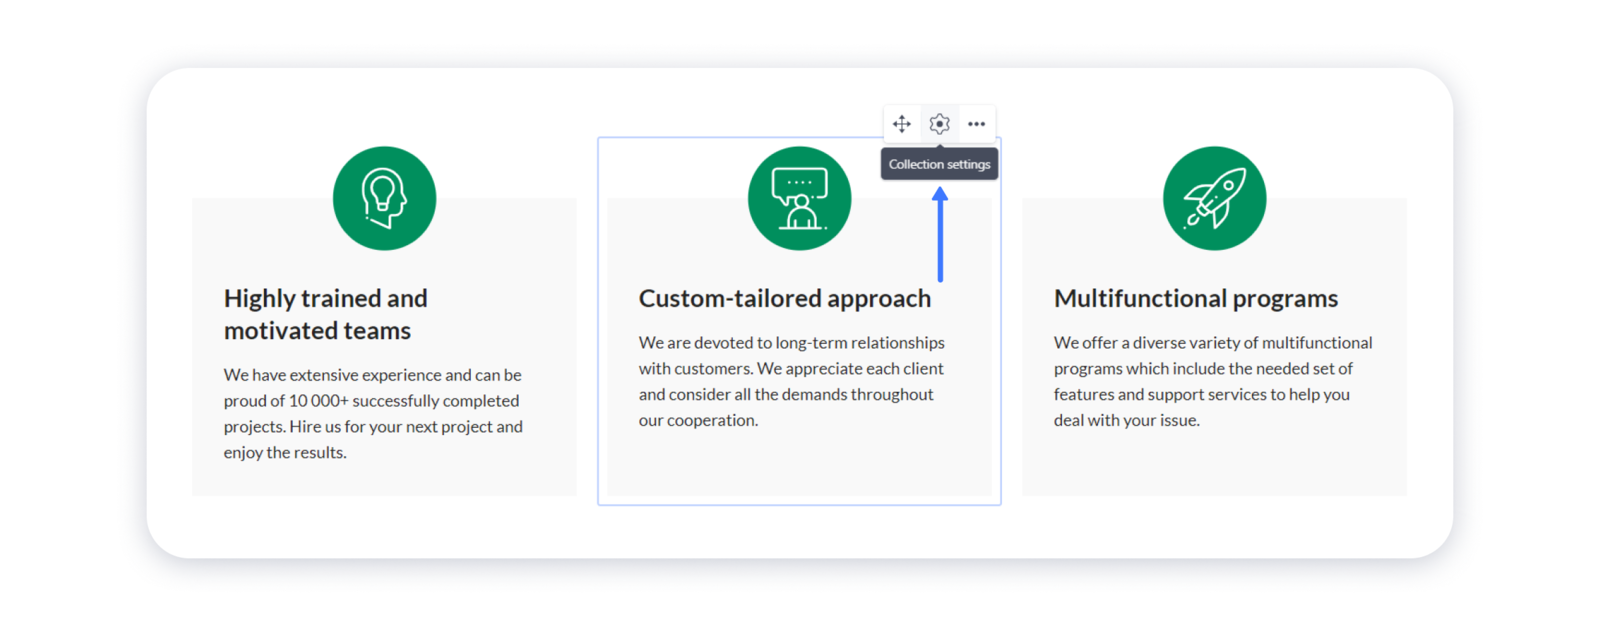 2- In the Layout tab you can stretch the items to the full width, change the distance between them or set up their alignment in the block. You can also change the maximum number of items that is displayed in a row or adjust the content alignment of the elements in the items:
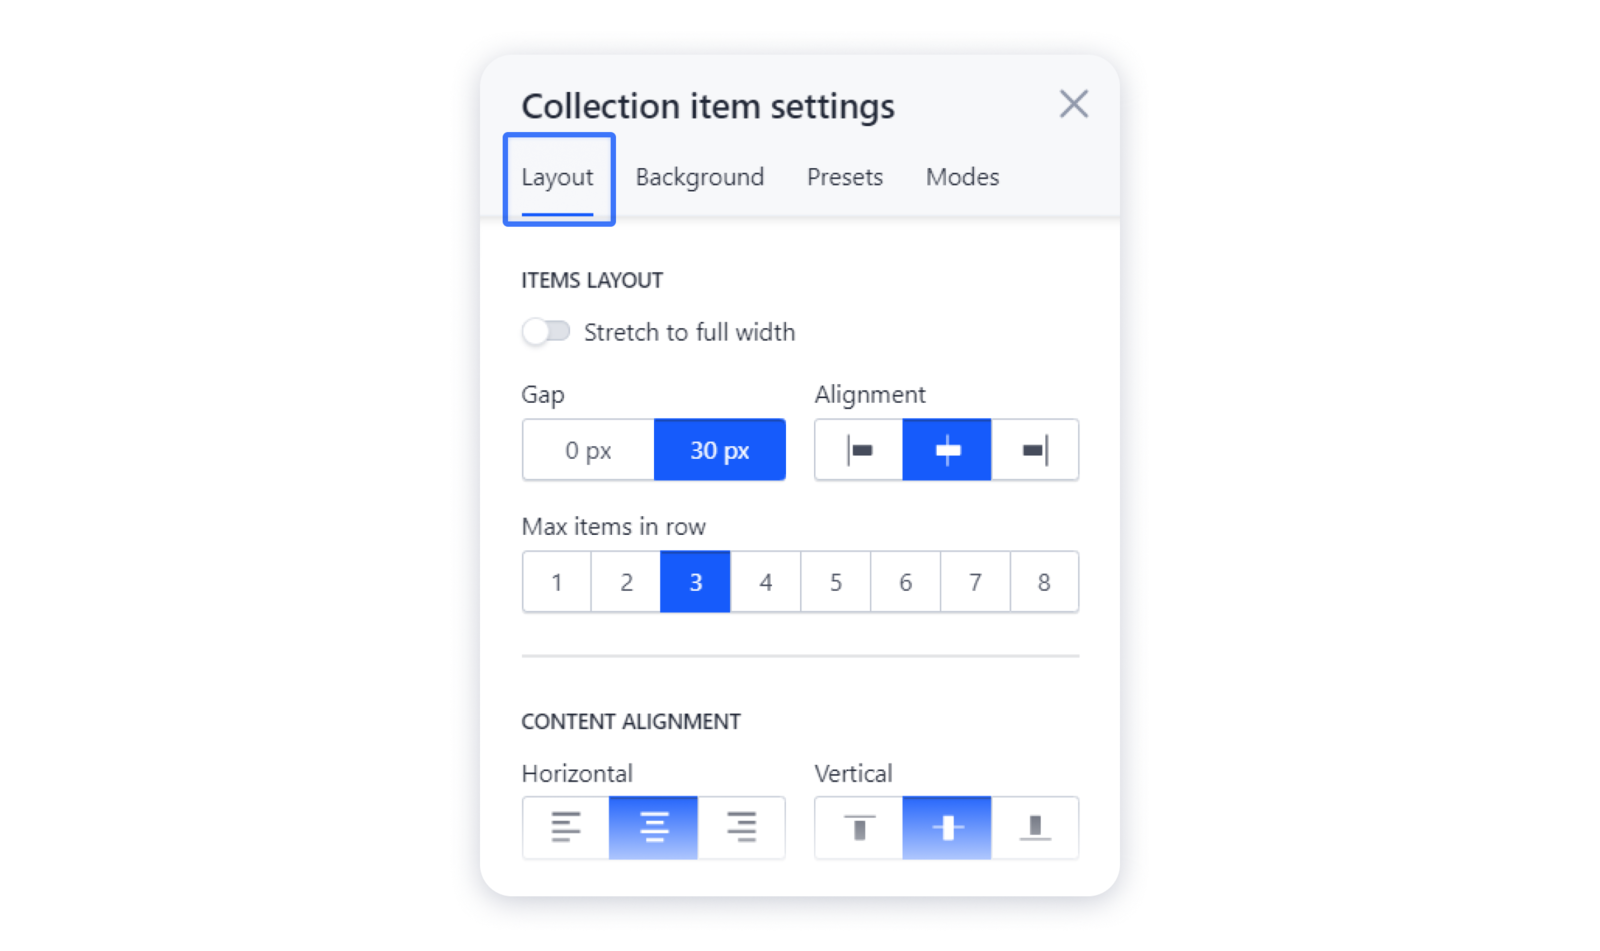 Note: the Alignment option only works if the actual number of items in the block is less than the number stated in the settings. In other words, it changes the position of all items if the max number in a row is set to 5, but there are only 4 items in the block.
3- Besides, you can set the paddings of the items and change their style — whether the rounded corners will be applied to the items. These parameters can be applied only if the background is active: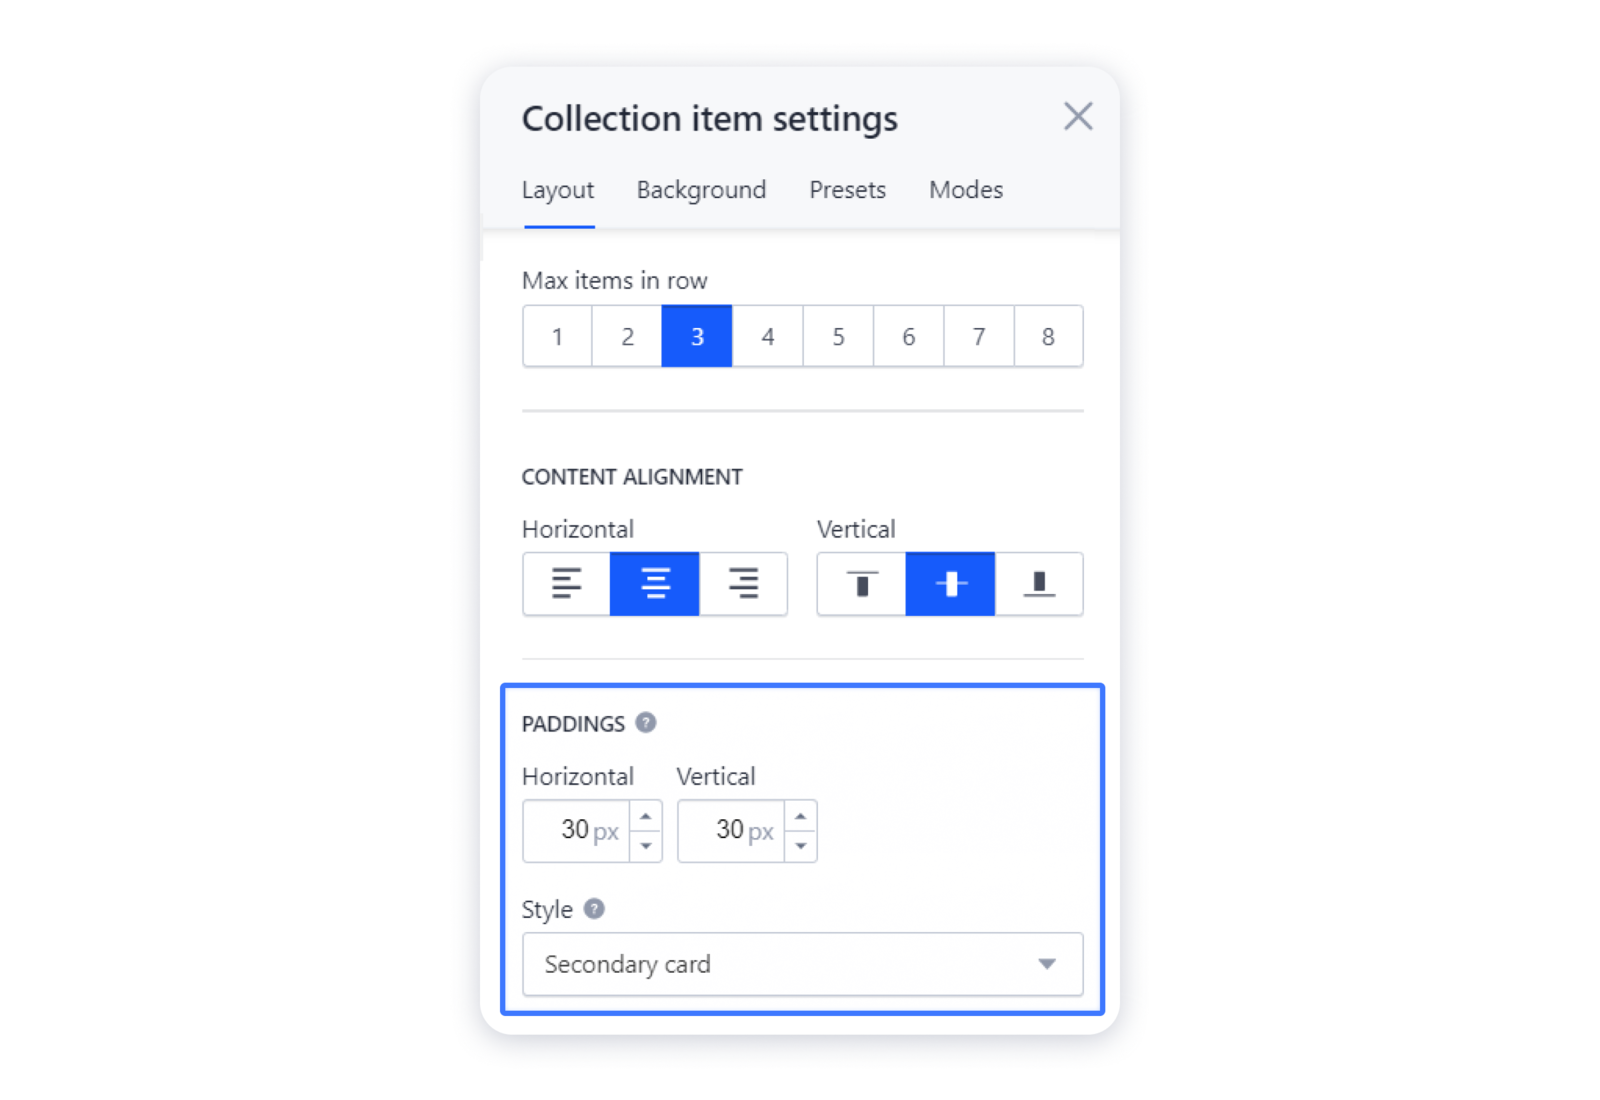 Remember that the changes in the Layout tab that you apply to one item in the collection will automatically apply to every item — therefore, if you change the content alignment or the paddings in the settings, they will be changed in other items as well.
Important: unlike columns, you can't set a custom width for the items in the collection. The width of the items adjusts automatically as you change the number of items in the row.
Changing the background of the items
In the collection, you can edit the background of each item separately, or set up a single design for them using presets.
1- Firstly, hover over the collection item and click on the "gear" in the top right corner to access its settings: 2- Navigate to the Background tab to select the color or image background specifically for the chosen item:
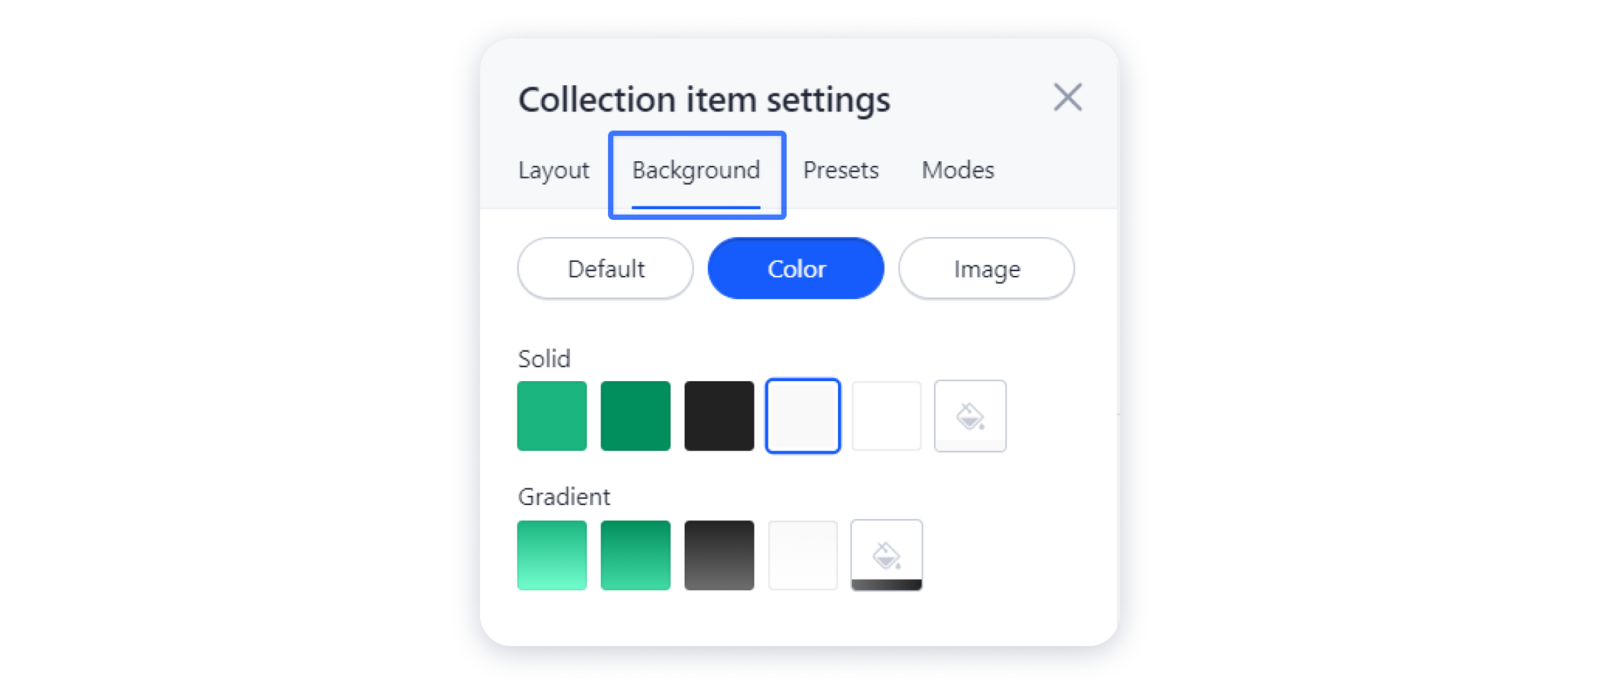 3- When you set a photo as a background of the column, you will see more customization options — e.g., applying filter or color correction:
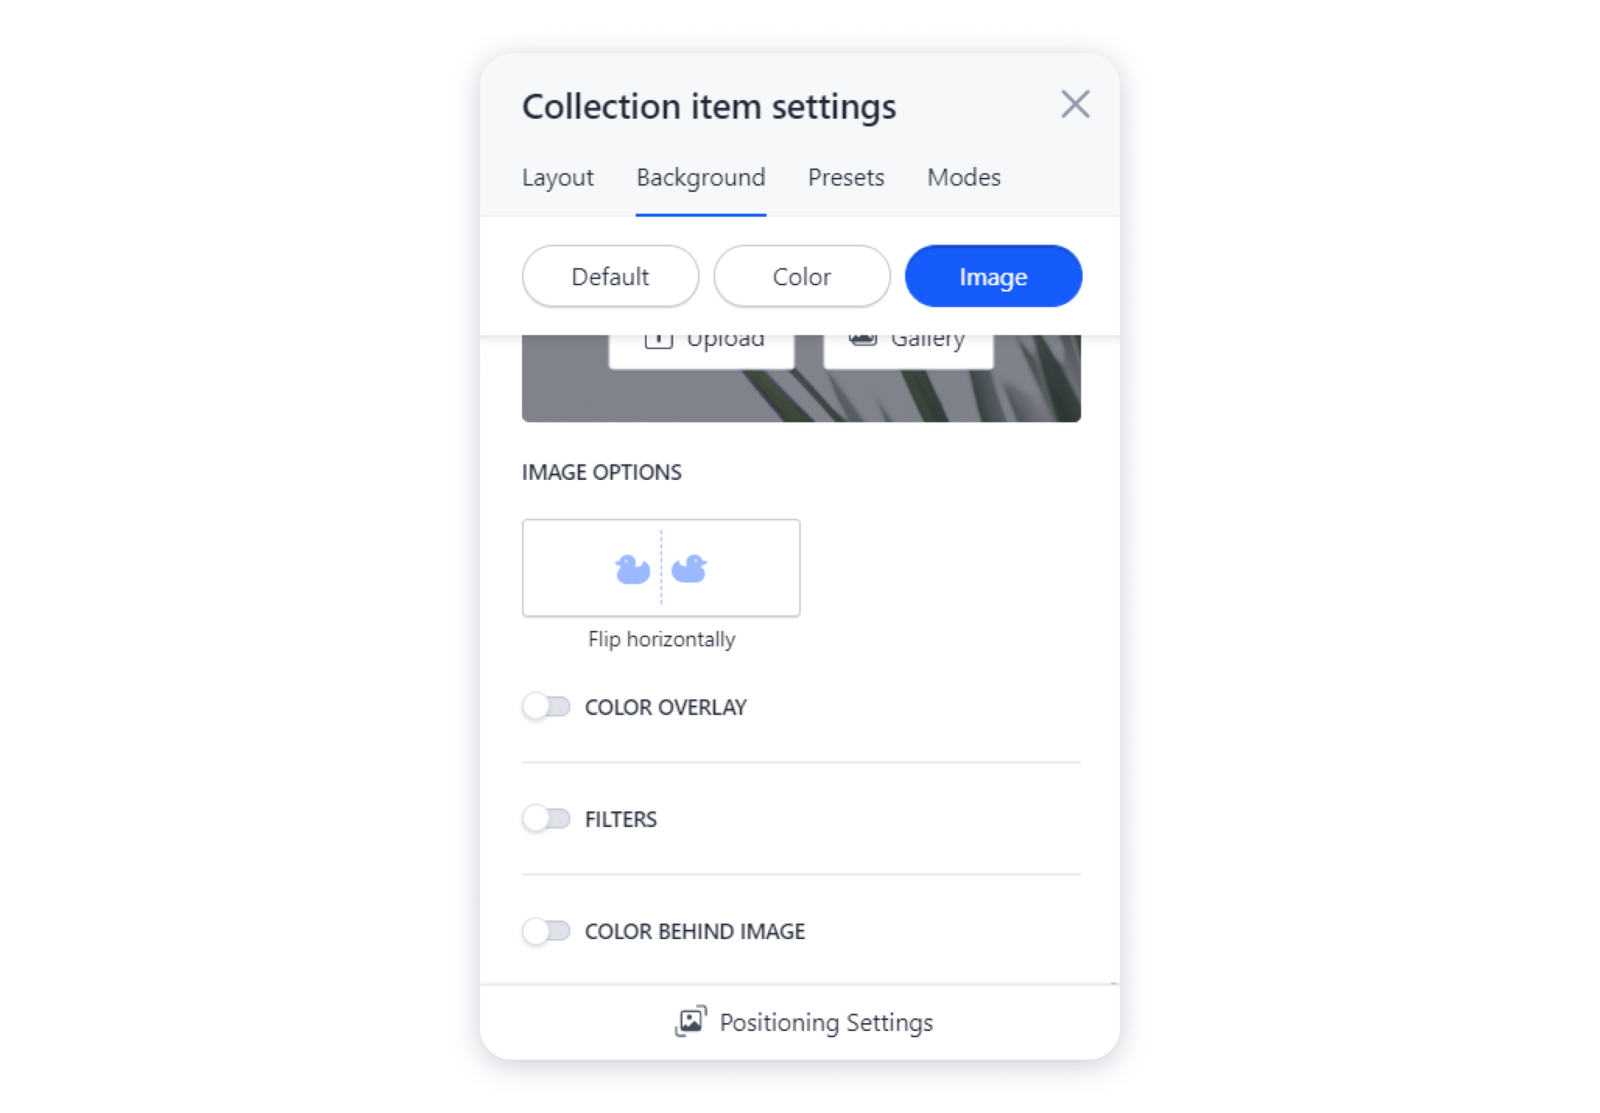 4- You can also change the color background for the collection as a whole. Navigate to the Presets tab and choose the suitable preset for your items — the basic coloring algorithm for your items, and change the default colors to the preferred ones:
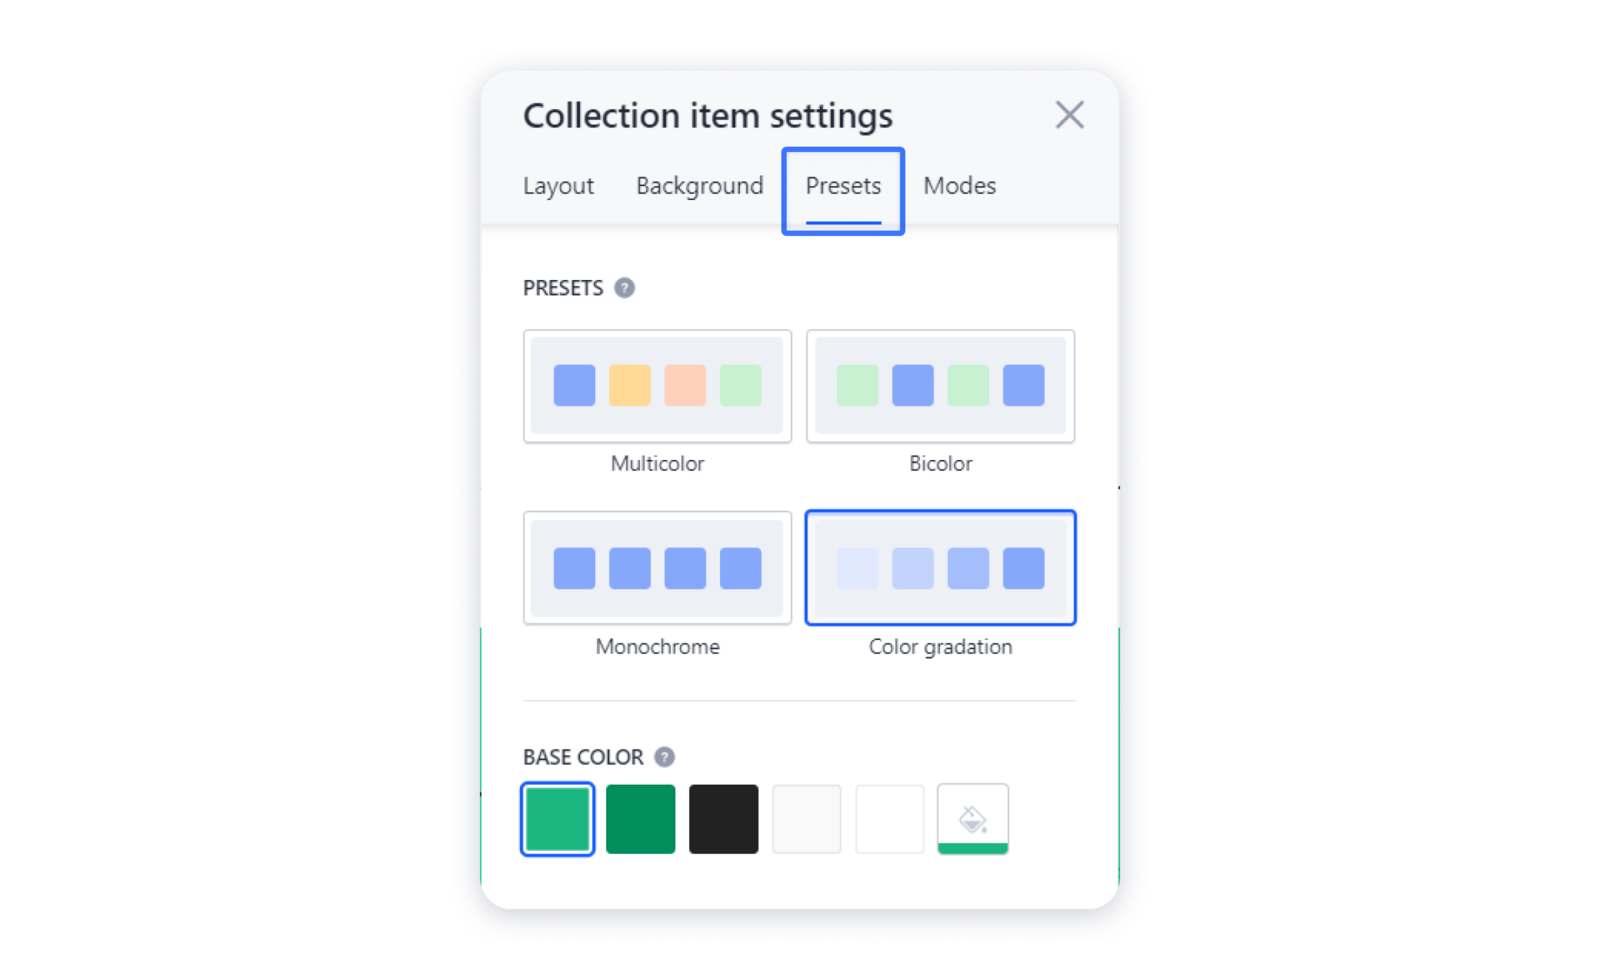 Important: presets can be applied only if the background of each item in the collection is set to Default.
Changing the modes of the items
Modes are the additional settings for collection items display. You can turn a collection into a slider or a block with tabs.
1- For that, navigate to the Modes tab in the Settings of the collection items: 2- Once you've chosen the Slider mode, you can set the type and the color of the controls, and many more:
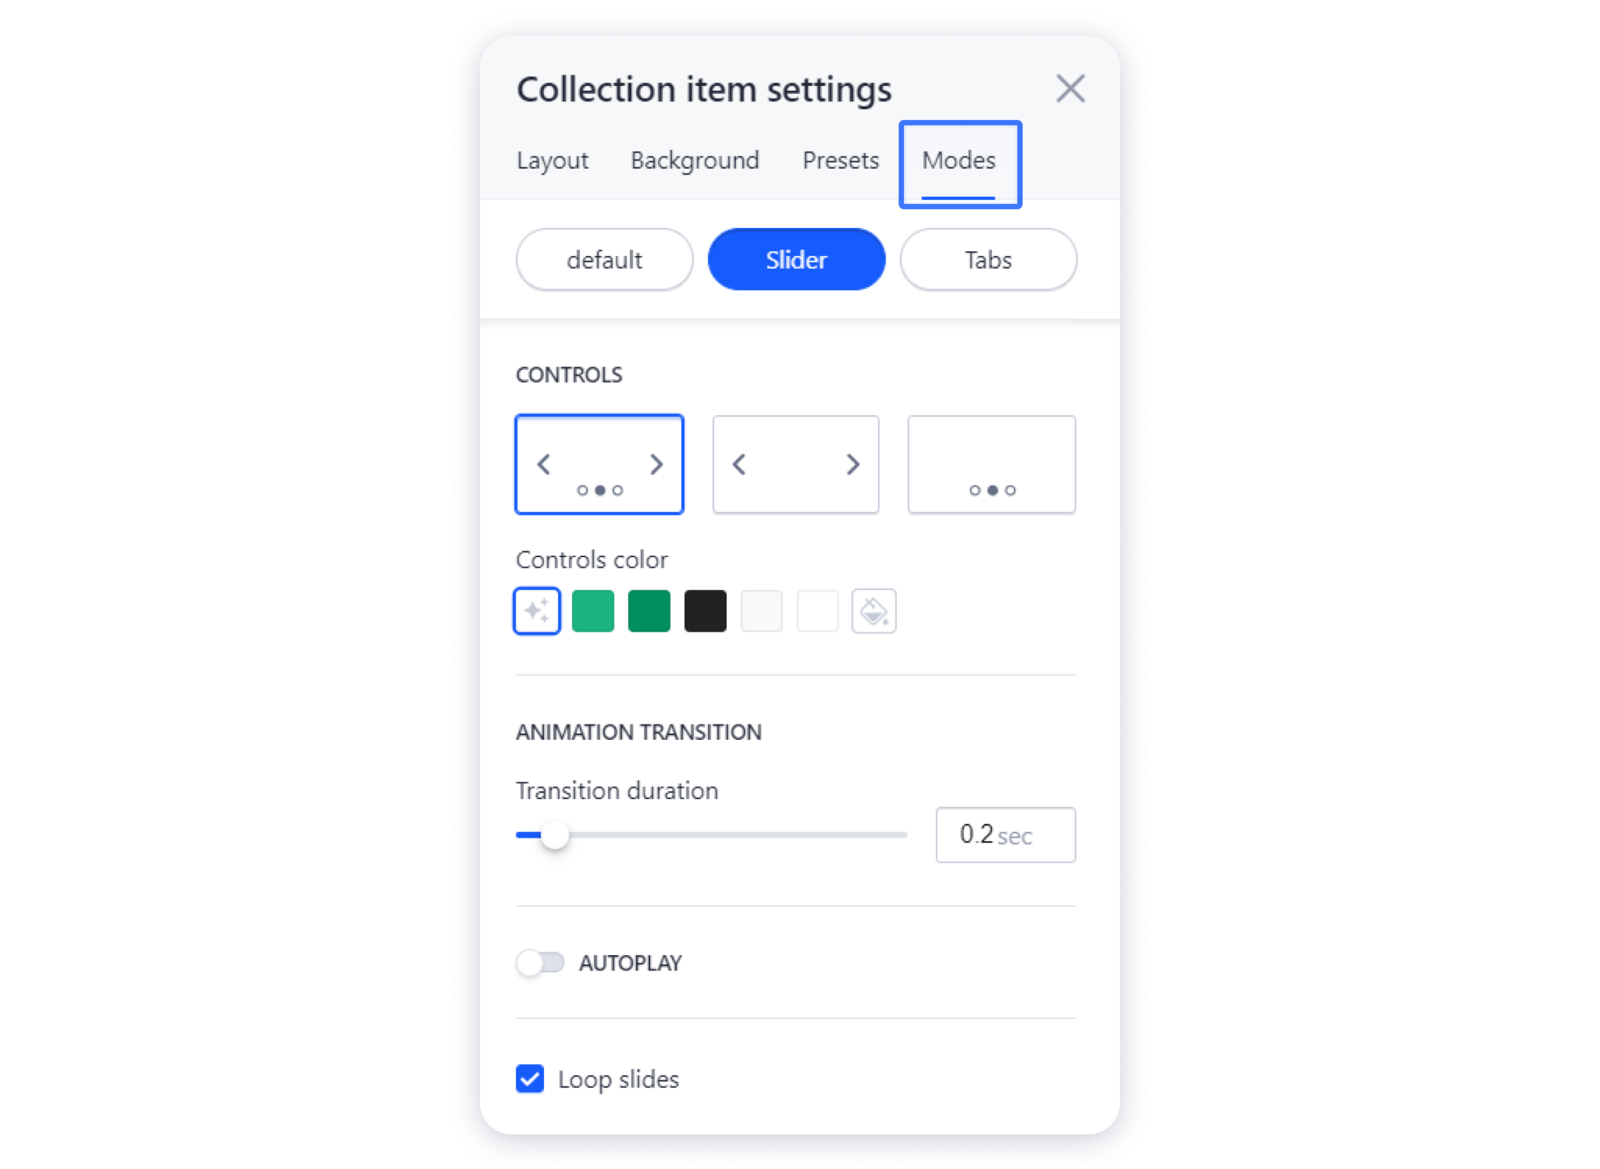
Don't forget to publish your site for the changes to appear live.